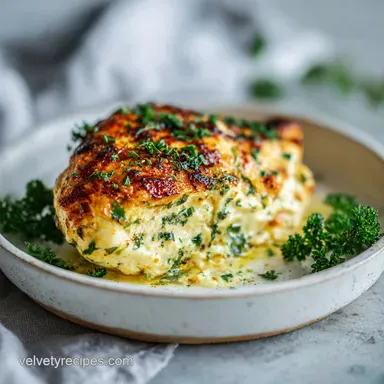
Easy Baked Ricotta Chicken
Master Easy Baked Ricotta Chicken with this simple 30-minute recipe. This Easy Chicken and Ricotta B...
30 Mins
Craving something rich? Discover 200+ tested recipes—from million dollar dinners to original congo bars. Triple-tested by experts for perfect results!

Learn how simmering the fruit prevents a soggy crust in the section Why This Recipe Works. Strawberry Crumb Bars are ideal for a summer strawberry dessert.
View Recipe
Master Easy Baked Ricotta Chicken with this simple 30-minute recipe. This Easy Chicken and Ricotta B...

Follow our detailed baking guide to ensure a crisp crust. This Strawberry Tart is a refreshing choic...
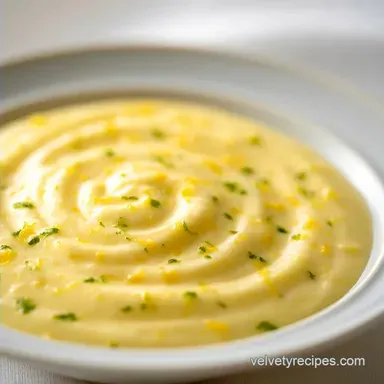
This Lemon Velvet Sauce blends rich cream with a fresh zip. Use it as a creamy lemon butter sauce fo...
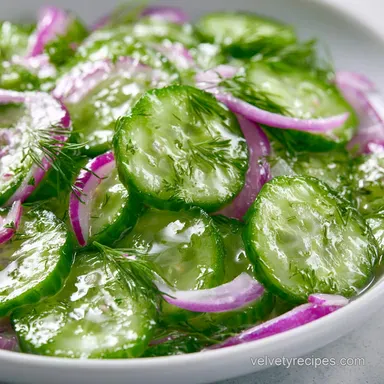
This easy cucumber salad uses a zesty brine for a crisp finish. Try this cucumber salad with vinegar...

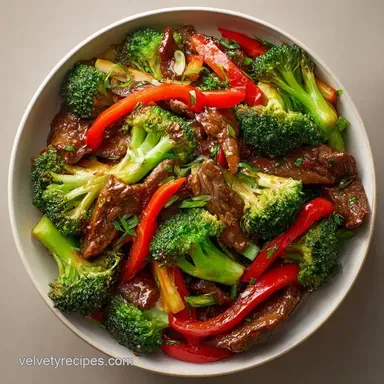
Master the 30 Minute Velvet Beef Stir Fry. Learn how to velvet beef Chinese style for a tender beef ...
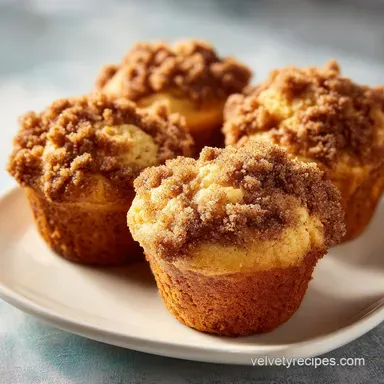
Make Coffee Cake Banana Muffins with this professional recipe. This crumb cake banana muffins guide ...
Handpicked collections to inspire your next meal
Find a Tender Velvet Chicken Recipe and learn how to velvet beef Chinese style with these 4 stir fry…
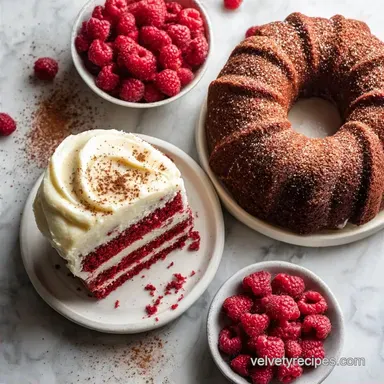
View Collection →From classic Southern layers to natural beet-based sponges, find a moist red velvet cake recipe from…
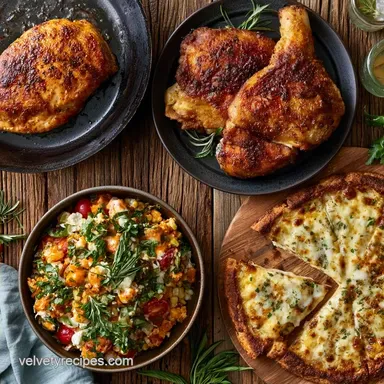
View Collection →From old fashioned amish onion cake to a caramelized specialty dish with feta, find simple savory re…
View Collection →From easy creamy garlic butter chicken to crispy baked thighs, find 6 high protein chicken dinner re…
View Collection →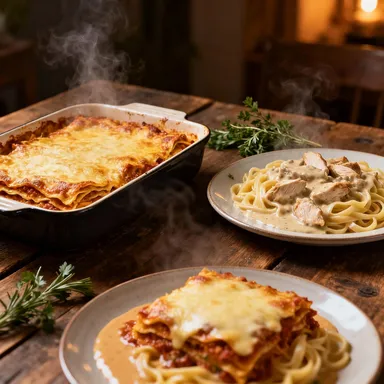
Transform your weeknights with our Million Dollar dinner ideas.
Indulge in our collection of rich, velvety desserts. From our famous original Congo Bars to creamy…
Nothing beats fresh homemade bread. Explore buttery biscuits, sweet honey pecan loaves, and soft…

Sip on something spectacular. From the viral Jamaican Purple Rain to soothing ginger teas, discover…
Learn how simmering the fruit prevents a soggy crust in the section Why This Recipe Works.

A jammy fruit flavor meets a lush topping in this Fresh Strawberry Sheet Cake. Check the recipe specifications for precise timing…

Follow our detailed baking guide to ensure a crisp crust. This Strawberry Tart is a refreshing choice for those seeking Summer…

Looking for a Fresh Strawberry Bread Pudding? Toast the bread first for a crisp crust; we also include a guide on what each…

Home bakers will love this Fresh Strawberry Galette. The recipe details ensure a flaky, buttery crust and jammy berries for a…

Looking for a Summer Strawberry Shortcake Cake? This rustic one-layer treat uses reverse creaming and includes a component…
Welcome to Velvety Recipes, where we believe that the best food isn't just about taste—it's about texture, warmth, and the joy of a perfect meal. If you’ve been searching for million dollar comfort food ideas that actually work in a real kitchen, you’ve found your new home. From silk-smooth sauces to the richest desserts, we specialize in recipes that feel like a warm hug.
Why "Velvety"? Because we obsess over the details. We don't just want your pasta to be good; we want it to be the most easy creamy pasta dinner you've ever tasted. We don't just share bread recipes; we guide you through making the most decadent honey butter pecan bread recipes that will have your neighbors knocking on your door.
The heart of our dessert collection lies in our original congo bars recipe. These aren't your average blondies—they are chewy, chocolatey, and have that signature velvety finish that has made them a fan favorite. Our dessert section is dedicated to those who appreciate the finer, sweeter things in life, from earthquake cakes to old-fashioned pies.
Weeknights can be stressful, but dinner shouldn't be. We focus on easy creamy pasta dinner ideas and hearty "million-dollar" casseroles that feed a crowd without the gourmet price tag. Whether it’s our famous million-dollar lasagna or a 20-minute garlic butter chicken, we prioritize flavor depth and velvety sauces.
There is nothing quite like the smell of fresh honey butter pecan bread recipes wafting through the house. Our bread category focuses on those buttery, soft, and "billion-dollar" recipes that define comfort. To wash it all down, our drink specialists have perfected everything from a refreshing jamaican purple rain cocktail to copycat lemonades that taste better than the original.
Whether you're a seasoned pro or a kitchen novice, Velvety Recipes is here to make sure your next meal is your best meal. Welcome to our table—let’s cook something amazing together.