Old Fashioned Congo Bars Recipe
- Time: Active 15 minutes, Passive 25 minutes, Total 40 minutes
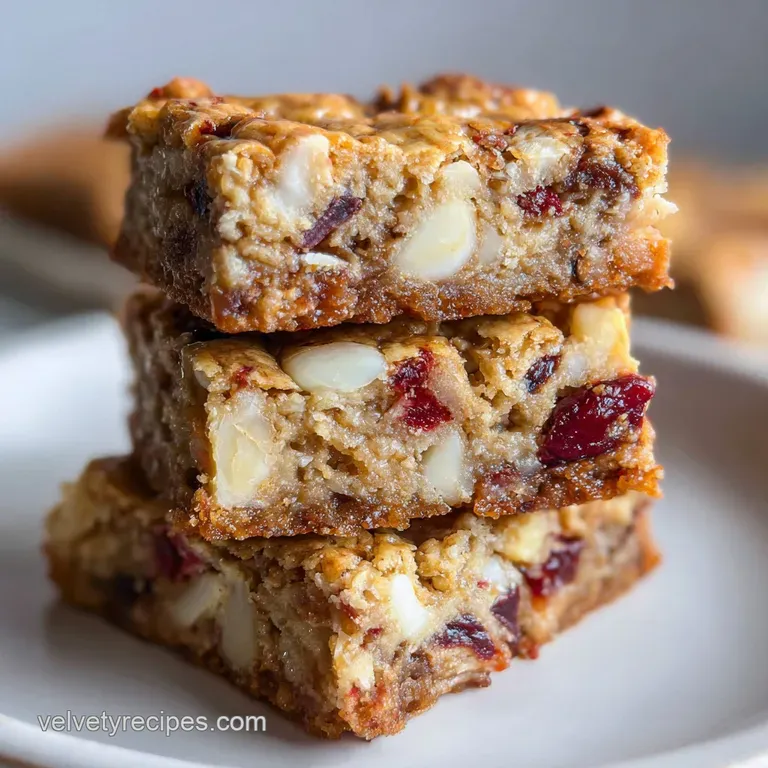
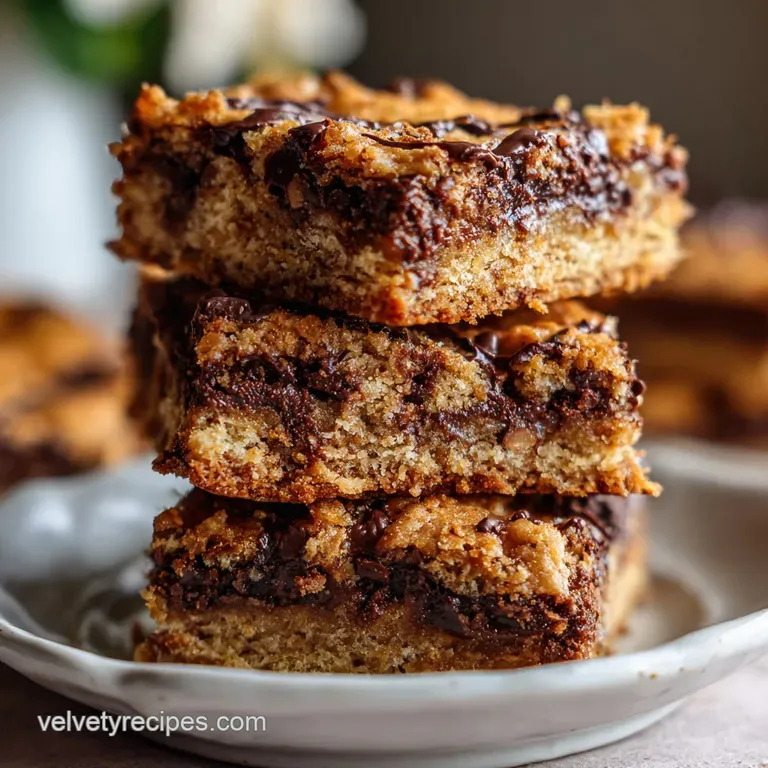
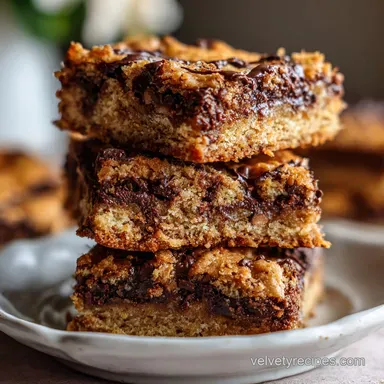
- Flavor/Texture Hook: A velvety, fudgy interior with a crackly, shatter crisp top and toasted coconut notes.
- Perfect for: Potlucks, school bake sales, or rainy afternoon snack marathons.
- Crafting the Most Irresistible Congo Bars Recipe
- Essential Mechanics of the Bake
- Choosing Quality Texture Elements
- Necessary Tools for Success
- Executing the Golden Bake
- Solving Common Texture Flaws
- Creative Flourishes and Swaps
- Scaling the Batch Size
- Fudgy Bar Myths
- Maintaining Maximum Freshness
- Presenting Your Sweet Creation
- Recipe FAQs
- 📝 Recipe Card
Crafting the Most Irresistible Congo Bars Recipe
The kitchen smells like a literal caramel factory right now, and I am not complaining one bit. There is this specific moment when the scent of melting butter hits the light brown sugar, and it transforms from raw ingredients into something that smells like a warm hug.
I first stumbled onto this congo bars recipe during a chaotic summer bake off with my cousins, and honestly, we were skeptical about the shredded coconut. But once that first batch came out of the oven, with the chocolate chips still glistening and the edges perfectly golden, we realized it was the secret to that specific, chewy "it" factor.
You know those days when you just need a win? This is that win. It is the kind of bake that makes the whole house feel cozy while the oven does the heavy lifting. We are talking about a thick, dense bar that has enough structural integrity to hold a mountain of walnuts and chocolate, yet stays soft enough to melt away the second you take a bite.
It is a classic for a reason, but I have picked up a few tricks over the years to make sure they never turn out dry or cakey.
Right then, let's get into what makes this specific batch better than the ones you find in those dusty old church cookbooks. We are leaning into the moisture, the richness of the eggs, and a very specific cooling technique that ensures you get those clean, professional looking squares.
Grab your favorite mixing bowl and let's get to work because your future self is going to thank you when you’re sitting on the couch with a glass of milk and one of these velvety treats.
Essential Mechanics of the Bake
The Alchemy of Molasses: Brown sugar contains molasses, which is hygroscopic, meaning it pulls moisture from the air to keep the bars dense and chewy rather than airy.
Lipid Protein Emulsion: Room temperature eggs bond more effectively with the melted butter, creating a stable emulsion that results in a uniform, velvety crumb.
Maillard Reaction Catalyst: The combination of high sugar content and butter fat promotes rapid browning at 350°F, creating that signature crackly, golden brown crust.
Preparation Method Comparison
| Method | Time | Texture | Best For |
|---|---|---|---|
| Stovetop (Butter Prep) | 3 minutes | Nutty, deep flavor | Serious flavor hunters |
| Microwave (Butter Prep) | 45 seconds | Consistent, standard | Quick weeknight baking |
| Oven (Toasting Nuts) | 8 minutes | Extra crunch, aromatic | Elevating the final bar |
Before we move on to the specific components, you need to decide how much effort you want to put into the flavor base. If you take three extra minutes to melt your butter on the stove until it just begins to foam, you unlock a much deeper profile than a quick zap in the microwave.
This small step changes the entire trajectory of the bake.
Choosing Quality Texture Elements
Component Analysis
| Ingredient | Science Role | Pro Secret |
|---|---|---|
| Brown Sugar | Moisture & Flavor | Pack it tight to remove air pockets for a denser, fudgier result. |
| Baking Powder | Chemical Leavening | Ensure it is fresh to give the bars a slight lift without making them cake like. |
| Shredded Coconut | Texture & Fat | Use unsweetened for a more natural flavor that balances the sweet chocolate. |
Every single item in this list serves a purpose. We aren't just throwing things in a bowl; we are constructing a lattice of fat, sugar, and flour. The salt might seem like an afterthought, but it is the only thing standing between "rich" and "cloying." Trust me, don't skip the sea salt.
The Liquid Foundation
- 2/3 cup unsalted butter: Melted and cooled. Why this? Provides the fat needed for a tender, melt in-your mouth texture.
- 2 cups light brown sugar: Firmly packed. Why this? The primary source of sweetness and that essential chewy moisture.
- 3 large eggs: Room temperature. Why this? Binds the fats and sugars while adding structure to the bars.
- 1 tablespoon vanilla extract: high-quality. Why this? Bridges the gap between the chocolate and the nuttiness.
Dry Component Ratios
- 2.5 cups all purpose flour: Measured correctly. Why this? Provides the structural framework for all the heavy mix ins.
- 2.5 teaspoons baking powder: Freshly opened. Why this? Adds just enough aeration to keep the bars from being bricks.
- 0.5 teaspoon fine sea salt: Don't omit. Why this? Sharpens the flavors and cuts through the intense sweetness.
Textured Mix In Selection
- 1.5 cups semi sweet chocolate chips: 60% cacao is great. Why this? Provides bitter notes to balance the sugar heavy dough.
- 1 cup walnuts or pecans: Coarsely chopped. Why this? Offers a necessary crunch against the soft, chewy bar.
- 0.5 cup shredded coconut: Flaked or shredded. Why this? Creates a unique floral aroma and a chewy secondary texture.
Necessary Tools for Success
You don't need a professional kitchen to nail this congo bars recipe, but having the right pan is half the battle. I always reach for a 9x13 inch metal baking pan. Glass pans hold heat differently and can often lead to overcooked edges before the center is set.
If you only have glass, drop your oven temperature by 25 degrees and keep a close eye on it.
A sturdy whisk and a silicone spatula are your best friends here. We aren't trying to whip a lot of air into this batter, so a hand mixer is actually overkill. I prefer doing this by hand because you can feel the moment the flour is fully incorporated.
Over mixing is the enemy of the "chew," as it develops too much gluten, turning your beautiful bars into something more like bread.
Chef's Tip: Freeze your chocolate chips for 10 minutes before folding them into the batter. This prevents them from melting instantly upon contact with the warm butter sugar mixture, keeping the "pockets" of chocolate intact during the bake.
Executing the Golden Bake
Setting the Stage
- Preheat your oven to 350°F and line a 9x13 inch pan with parchment paper, leaving an overhang on the sides. Note: The "sling" makes it easy to lift the entire block out for clean slicing later.
- Melt the 2/3 cup unsalted butter in a small saucepan over medium low heat until liquid. Watch for the sizzle to stop as the water evaporates.
- Transfer the butter to a large bowl and whisk in the 2 cups of firmly packed light brown sugar until the mixture looks like wet sand.
Incorporating Dry Goods
- Add the 3 room temperature eggs one at a time, whisking vigorously after each addition. Wait until the batter looks glossy before adding the next egg.
- Stir in the 1 tablespoon of vanilla extract and the 0.5 teaspoon of fine sea salt.
- Sift together the 2.5 cups of all purpose flour and 2.5 teaspoons of baking powder directly over the wet ingredients.
- Use a spatula to fold the dry ingredients in. Stop the moment you see no more white streaks to prevent gluten development.
Folding the Treasures
- Gently fold in the 1.5 cups of semi sweet chocolate chips, 1 cup of chopped walnuts, and 0.5 cup of shredded coconut.
- Spread the thick batter into your prepared pan, smoothing the top with your spatula. Listen for the squelch of the dense dough hitting the parchment.
- Bake for 25 minutes until the edges are deep golden and the top looks crackly. Note: The center should still have a very slight jiggle when shaken.
Solving Common Texture Flaws
Fixing Dry Crumbs
If your bars are crumbling the moment you cut them, you likely over measured your flour or over baked the pan. Flour should always be fluffed and spooned into the measuring cup, never scooped directly from the bag, which packs it down.
If they are already baked and dry, try storing them in an airtight container with a slice of white bread. The bars will absorb the moisture from the bread overnight.
Remedying Gummy Centers
A gummy, raw tasting center usually happens when the eggs were too cold or the oven temperature was inaccurate. When cold eggs hit melted butter, they can cause the fat to seize, leading to an uneven bake. Always ensure your eggs are sitting out for at least 30 minutes.
If the bars look too wet in the middle but dark on the edges, tent the pan with foil and give them another 5 minutes of heat.
| Problem | Root Cause | Solution |
|---|---|---|
| Hard Edges | Too much sugar near pan walls | Use a light colored metal pan and grease the parchment. |
| Oily Surface | Butter was too hot when adding eggs | Cool butter to 110°F before mixing with sugar and eggs. |
| Sunken Middle | Too much baking powder | Check your measurements; 2.5 tsp is exact for this flour volume. |
Common Mistakes Checklist
- ✓ Never scoop flour directly with the measuring cup (always spoon and level).
- ✓ Ensure the light brown sugar is fresh and soft, not hard or clumpy.
- ✓ Avoid over mixing once the flour is added to keep the texture fudgy.
- ✓ Let the bars cool completely (at least 1 hour) before attempting to slice.
- ✓ Use a sharp, straight edged knife for clean cuts rather than a serrated one.
Creative Flourishes and Swaps
Making Cake Mix Variations
If you are in a massive rush, you can create a version of this bars recipe using a yellow cake mix. You would swap the flour, baking powder, and sugar for the mix, but you'll lose that deep molasses flavor that defines a true Congo Bar. It results in a lighter, more airy texture that is closer to a cookie cake.
It is a great "cheat" for busy weeks, but the authentic version is worth the extra ten minutes of whisking.
Adding Tropical Notes
To lean into the "Congo" theme, you can toasted the 0.5 cup of shredded coconut in a dry skillet for 2 minutes before adding it to the batter. This amplifies the aroma significantly. You can also swap the walnuts for macadamia nuts if you want a truly island inspired treat.
Just keep the ratios the same so the moisture balance doesn't get thrown off.
| Original Ingredient | Substitute | Why It Works |
|---|---|---|
| Walnuts (1 cup) | Pecans (1 cup) | Similar fat content. Note: Pecans offer a sweeter, more buttery profile. |
| Semi sweet Chips | Dark Chocolate Chunks | Higher cocoa butter. Note: Creates larger "pools" of melted chocolate. |
| Light Brown Sugar | Dark Brown Sugar | More molasses. Note: Results in a darker, more intensely chewy bar. |
If you want a saltier finish, try swapping the walnuts for salted roasted peanuts. It creates a "Snickers like" experience that is honestly addictive. Just be sure to reduce the added sea salt by a pinch if your nuts are heavily salted.
Scaling the Batch Size
Reducing for Two
If you want a smaller batch, you can halve this recipe easily. Use an 8x8 inch square pan and keep the bake time around 20 to 22 minutes. For the 3 eggs, beat one egg in a small bowl and use half of it, along with one whole egg.
Reducing the batch is a great way to satisfy a craving without having 24 bars staring you down from the counter.
Feeding a Crowd
To double the recipe for a large party, use two separate 9x13 inch pans rather than one giant deep pan. Doubling the depth of the batter in a single pan will lead to burnt edges and a raw middle.
If you must bake both pans at once, rotate them halfway through the 25 minute timer to ensure even heat distribution from your oven's heating elements.
Fudgy Bar Myths
A common misconception is that you need to cream the butter and sugar together like you would for a standard cookie. In reality, melting the butter is what gives this congo bars recipe its signature dense, fudgy texture. Creaming incorporates air, which leads to a cakey bar.
By melting the butter, we are intentionally keeping the structure heavy and rich.
Another myth is that "more leavening equals better lift." Some people think adding extra baking powder will make the bars fluffier, but in this specific recipe, too much leavening will cause the bars to rise rapidly and then collapse in the center, creating a crater.
Stick to the 2.5 teaspoons; it is the "Goldilocks" amount for this specific volume of flour and eggs.
Maintaining Maximum Freshness
Keep your sliced bars in an airtight container at room temperature for up to 4 days. If you find they are losing their chew, a quick 10 second zap in the microwave will revive the chocolate and soften the crumb beautifully. For long term storage, these bars freeze exceptionally well.
Wrap individual squares in plastic wrap and store them in a freezer bag for up to 3 months.
To avoid waste, save any "crumbs" or broken edges from the pan. These make an incredible topping for vanilla bean ice cream. You can also pulse leftover dry bars in a food processor to create a "Congo Crust" for a cheesecake or a chocolate tart.
The high sugar and fat content in the crumbs make them an ideal base for secondary desserts.
Presenting Your Sweet Creation
When it comes to serving, temperature is everything. If you serve them slightly warm, the chocolate will be velvety and the center will be at its peak softness. However, if you prefer a cleaner, more structured bar that you can eat on the go, let them chill in the fridge for 30 minutes before slicing.
This sets the fats and allows for those sharp, straight edges that look so good on a dessert platter.
I love serving these with a side of cold milk or even a dollop of unsweetened whipped cream to balance the intensity of the brown sugar. If you're feeling fancy, a drizzle of salted caramel across the top of the pan before slicing adds a beautiful visual element.
No matter how you plate them, the aroma of that toasted coconut and vanilla is going to bring everyone to the kitchen before you even have the knife ready. Enjoy the process, and definitely lick the spatula it's the baker's tax!

Recipe FAQs
What exactly are Congo Bars?
They are a dense, chewy bar cookie. They bridge the gap between a blondie and a loaded cookie, featuring a caramelized brown sugar base with mix-ins like coconut, nuts, and chocolate chips.
What's the difference between blondies and Congo Bars?
Congo Bars are generally denser and richer than classic blondies. While both use a brown sugar base, Congo Bars traditionally include shredded coconut and are often baked thicker, leading to a chewier, fudgier interior.
Why is it called a Congo Bar?
The exact origin is debated, but it likely relates to the tropical ingredients. The inclusion of coconut and nuts ties it to ingredients historically associated with warmer climates, though the name itself has persisted through classic American recipe collections.
What pan size is best for Congo Bars?
The 9x13 inch metal baking pan is highly recommended for this recipe. This size ensures the bars bake evenly to the correct thickness, yielding a perfect ratio of chewy center to crispy edge.
How to ensure Congo Bars stay chewy and not cakey?
Melt the butter instead of creaming it with the sugar. Melting the butter creates a dense structure by inhibiting gluten formation, ensuring the final product is fudgy rather than light and airy.
Is it true I must use room temperature eggs?
Yes, using room temperature eggs is crucial for the correct texture. Cold eggs can cause the melted butter and sugar emulsion to seize up, resulting in an uneven crumb and potentially causing the bars to bake improperly.
How to prevent the chocolate chips from sinking to the bottom?
Toss the chocolate chips and nuts with about one tablespoon of the measured flour before folding them in. This light coating helps suspend the heavier mix-ins within the thick batter during baking.
Chewy Congo Bars Recipe
Ingredients:
Instructions:
Nutrition Facts:
| Calories | 256 kcal |
|---|---|
| Protein | 3.4 g |
| Fat | 12.7 g |
| Carbs | 34.3 g |
| Fiber | 1.3 g |
| Sugar | 21.6 g |
| Sodium | 132 mg |
