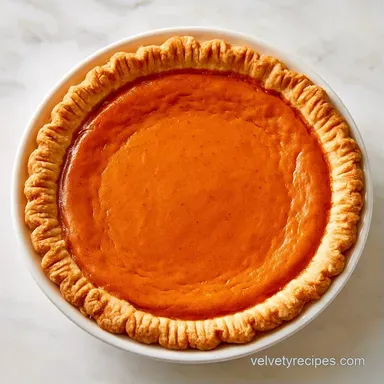
Easy Pumpkin Pie: Creamy and Spiced
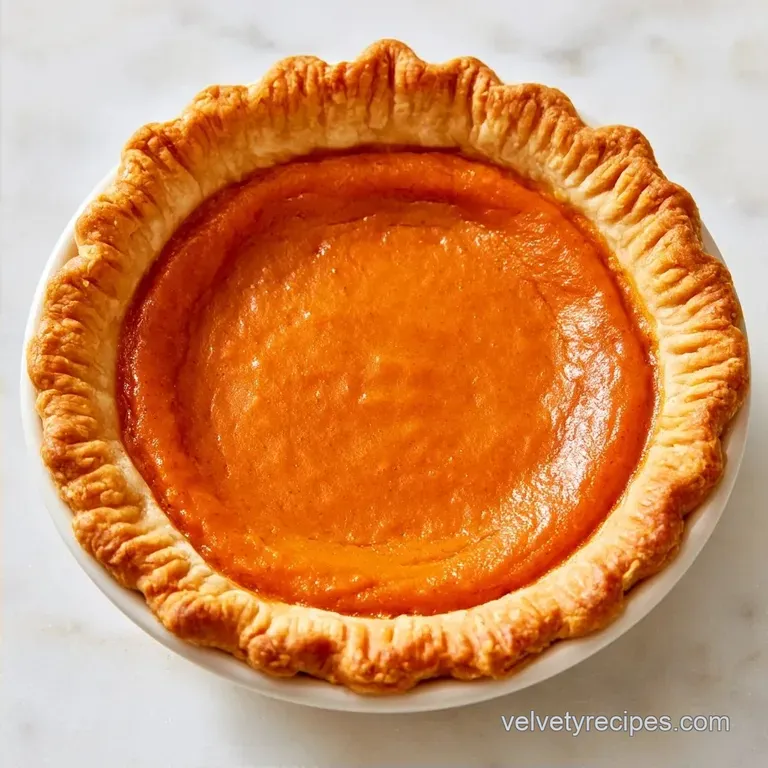
- Time: 15 min active + 2 hr cooling
- Flavor/Texture Hook: Rich cinnamon spice with a smooth, creamy set
- Perfect for: Holiday dinner or a cozy autumn weekend
Easy Pumpkin Pie
The scent of cinnamon and toasted butter always brings me back to my grandmother's kitchen. In North America, this pie isn't just a dessert, it's a signal that the season has shifted. It represents the warmth of family gatherings and the comfort of a home that smells like cloves and nutmeg for three days straight.
Growing up, I saw every variation of this dish. Some families insisted on fresh pumpkins, while others swore by the reliability of the can. The cultural pull of this pie is its simplicity. It's a dish that feels humble but looks impressive on a mahogany table.
You can expect a dense, creamy filling that holds its shape without being rubbery. This Easy Pumpkin Pie avoids the common pitfalls of sinking centers or soggy bottoms. It's a straightforward approach that honors the tradition of the old-fashioned holiday bake.
Quick Recipe Specs
Getting the timing right is everything with custards. If you pull it too early, it's a soup. If you leave it too long, it cracks. This version balances that line by using a specific two stage heat process.
- For a firmer slice
- chill 4 hours instead of 2.
- For a darker crust
- brush edges with egg wash before baking.
- For a spicier kick
- add an extra pinch of ground ginger.
| Method | Time | Texture | Best For |
|---|---|---|---|
| Oven Baked | 50 min | Set and creamy | Traditional slices |
| Stovetop Custard | 20 min | Loose and porridge like | Pudding cups |
How This Actually Works
The physics of a custard can be finicky. Most people struggle with "weeping," where water separates from the pumpkin and pools on top.
- Cornstarch Grip: A small amount of starch binds the water and fats, ensuring the slice stays clean.
- Heat Shock: Starting at 218°C sets the crust proteins quickly, preventing the filling from soaking into the dough.
- Evaporated Milk: This provides a more concentrated fat content than regular milk, which creates a denser, richer mouthfeel.
The Building Blocks
I prefer using high-quality canned puree because the moisture content is consistent. Fresh pumpkin often varies too much in water levels, which can ruin the set of your Easy Pumpkin Pie.
| Ingredient | What It Does | Best Swap |
|---|---|---|
| Pumpkin Puree | Provides body and flavor | Fresh pumpkin (must be reduced/thickened) |
| Evaporated Milk | Adds richness and stability | Heavy cream (makes it denser) |
| Cornstarch | Prevents weeping | Arrowroot powder (similar effect) |
| Eggs | Sets the structure | Flax eggs (will be softer, less stable) |
The Pantry List
- 1 (9 inch) unbaked deep dish pie crust Why this? Deep dish allows for a thicker, more satisfying slice
- 425g canned pumpkin puree Why this? Consistent thickness for a reliable set
- 3 large eggs
- 150g granulated sugar
- 15ml cornstarch
- 5g ground cinnamon
- 2g ground ginger
- 1g ground cloves
- 3g salt
- 355ml evaporated milk Why this? Thicker than milk, lighter than cream
If you're looking for other autumn treats, my Pumpkin Roll recipe is a great way to use up extra puree.
Essential Kitchen Gear
You don't need fancy equipment, though a few key tools make the process easier. A large whisk is a must have to ensure the cornstarch and cinnamon are completely smooth and lump free.
I suggest using a 9 inch deep dish pie plate. Using a shallower dish will shorten the baking time and may cause the edges to overbake before the middle is done. A wire cooling rack is also essential; setting a hot pie on a granite surface can trap steam, resulting in a soggy bottom.
Lastly, use a rubber spatula to level the top of the Easy Pumpkin Pie filling. Keeping the surface flat prevents it from peaking, which helps avoid cracks as it cools.
Simple Baking Steps
1. Preparing the Base
Preheat your oven to 218°C. Place your pie crust into the pie plate. Press it firmly against the bottom and sides. Use your thumb to press the dough into the corners to avoid air pockets.
2. Whisking the Filling
In a large bowl, whisk the pumpkin puree, eggs, sugar, cornstarch, cinnamon, ginger, cloves, and salt. Mix until the batter is completely smooth. You'll notice the aroma of warm cinnamon and cloves hitting the air now.
3. Adding the Liquid
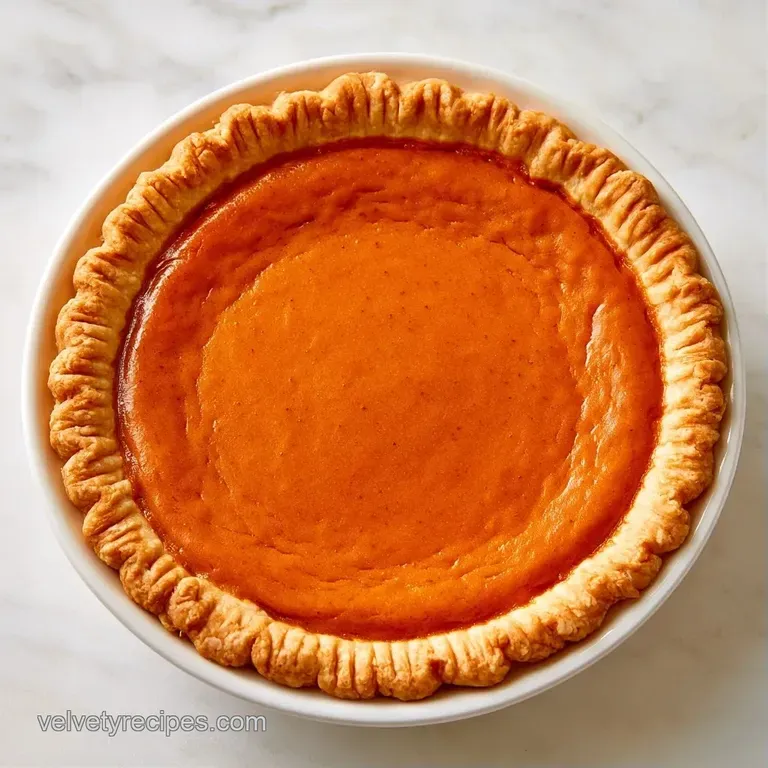
Gradually pour in the evaporated milk. Whisk constantly until the Easy Pumpkin Pie filling is a uniform, velvety orange. Pour the mixture into the crust and smooth the top with a spatula.
4. The Initial Set
Bake at 218°C for 15 minutes. This high heat blasts the crust, locking in the shape. The kitchen should start smelling like toasted butter and baked dough.
5. The Slow Bake
Reduce the oven temperature to 175°C. Bake for another 35-40 minutes. Watch for the edges to set while the center keeps a slight, uniform jiggle.
6. The Critical Cool Down
Remove the pie from the oven. Place it on a wire rack. Allow the pie to cool completely at room temperature for at least 2 hours. The scent will deepen into a rich, caramelized pumpkin aroma during this time.
Fixing Pie Disasters
The most frustrating part of this recipe is the wait. Many people try to slice the pie while it's warm, but that's when the center looks undercooked. The custard continues to set as it cools.
If you see a crack on top, it usually means the oven was too hot or it baked too long. This is purely a visual issue. You can cover the crack with a dollop of whipped cream, and no one will ever know.
Soggy crusts happen when the dough isn't pressed firmly or the oven isn't preheated. The initial blast of 218°C is what prevents the pumpkin from soaking into the flour.
Dealing with Texture Issues
| Problem | Root Cause | Solution |
|---|---|---|
| Cracked Top | Overbaked or too hot | Reduce bake time by 5 mins |
| Center is runny | Sliced too early | Cool for full 2 hours |
| Soggy Bottom | Low initial temp | Ensure oven hits 218°C before entry |
Sizing Your Batch
For smaller groups, you can prepare a half batch using a 6 inch tart pan. In this case, decrease the baking time by roughly 20%. For the egg portion, whisk one egg and use half of it by weight.
If you double the recipe for a larger party, be careful not to double the spices, as salt and cloves can easily become too intense. Multiply the pumpkin, sugar, and milk by 2, but only increase the spices by 1.5x.
When baking two pies at the same time, drop the oven temperature by about 15°C. This keeps the exterior from browning too quickly while the middle remains undercooked. If your oven has hot spots, consider working in batches.
Keeping it Fresh
This pie remains fresh for 4 days when chilled. Keep it loosely covered with foil or plastic wrap, ensuring the material doesn't touch the filling to avoid leaving marks.
The Easy Pumpkin Pie can also be frozen for long term storage. Wrap it tightly in plastic wrap and a layer of aluminum foil; it will last for about 2 months. Thaw it by letting it sit in the refrigerator overnight.
Save any leftover crust bits or pumpkin puree. The puree is great stirred into oatmeal or smoothies, while the crust scraps can be baked into mini crackers with a dash of salt and pepper.
Different Flavor Twists
If you want a richer, denser version, try an Easy Pumpkin Pie with Condensed Milk. Replace the sugar and evaporated milk with one can of sweetened condensed milk. This creates a more fudgy, heavy texture.
For a lighter base, an Easy Pumpkin Pie with Graham Cracker Crust works well. Just crush 200g of graham crackers with 50g of melted butter and press them into the pan. This adds a honey like sweetness that pairs well with the spice.
Some prefer an Easy Pumpkin Pie Recipe No Eggs. You can use a cornstarch slurry or a commercial vegan binder, though the set will be softer. If you love these flavors but want something more portable, my Pumpkin Roll recipe is a brilliant alternative.
What to Serve
For a traditional presentation, top this with a generous scoop of unsweetened whipped cream. The lightness of the cream balances the thickness of the pumpkin, while a light dusting of cinnamon adds a professional finish.
Complement the flavors with a steaming cup of apple cider or a dark roast coffee. The coffee's acidity helps offset the sweetness of the filling.
If you are preparing a multi course meal, follow this rich dessert with fresh berries drizzled in Lemon Velvet Sauce to refresh your palate. This transition from warm, aromatic pumpkin to tangy lemon keeps the meal light and balanced.
Recipe FAQs
How to prevent a soggy pumpkin pie crust?
Bake at 425°F for the first 15 minutes. This high initial heat sets the pastry before the filling can soften the base.
What should I add to canned pumpkin for the filling?
Whisk in eggs, sugar, cornstarch, cinnamon, ginger, cloves, salt, and evaporated milk. If you enjoyed mastering the balance of a spiced filling, see how we apply a similar flavor depth in our onion cake.
How long does the pie bake at 350°F?
Bake for 35 to 40 minutes. Pull the pie from the oven when the edges are set but the center still has a slight jiggle.
Is it true that you should use only one oven temperature for the whole bake?
False. Using a two-stage heat process ensures the crust is crisp while the custard remains creamy and smooth.
Easy Pumpkin Pie Recipe