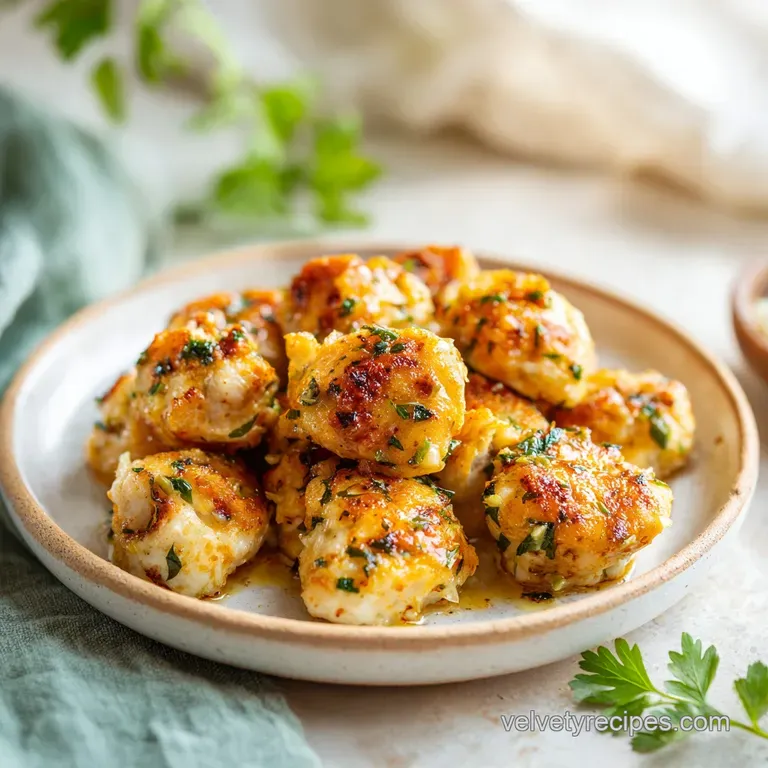
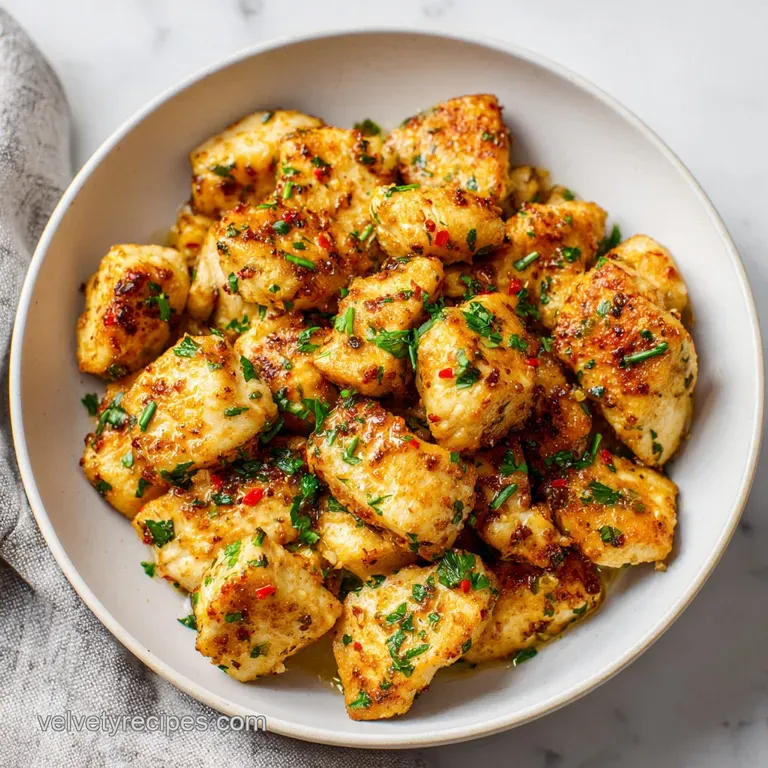
Garlic Butter Chicken Bites: Crispy and Tender
- Time: Active 15 minutes, Passive 0 minutes, Total 15 minutes
- Flavor/Texture Hook: Shatter crisp exterior with a glossy, garlic infused butter glaze
- Perfect for: Busy weeknight dinners or a high protein meal prep option
- Stop Making Soggy Rubbery Chicken Bites
- Vital Specs For Kitchen Success
- Essential Elements For Better Bites
- Minimal Tools For Maximum Flavor
- Cooking Steps For Perfect Searing
- Fixing Common Searing Issues Fast
- Scaling Rules For Larger Groups
- Flavor Twists For Every Palate
- Common Cooking Misconceptions
- Storage Tips For Meal Preppers
- Serving Ideas For Family Dinner
- Recipe FAQs
- 📝 Recipe Card
Stop Making Soggy Rubbery Chicken Bites
Forget everything you have been told about needing a deep fryer or a gallon of oil to get that satisfying crunch. There is a massive myth in the home cooking world that "crispy" only comes from breading and submerging meat in fat.
I used to believe that too, until I realized that the real secret to a million dollars meal isn't the amount of oil, but how you handle the moisture. If you toss damp meat into a lukewarm pan, you are basically boiling your dinner in its own juices, and that is why your chicken ends up looking grey and feeling like a pencil eraser.
The first time I really heard that sizzle the kind that sounds like a standing ovation in the pan was when I finally started using paper towels like they were free.
I patted those chicken cubes until they were bone dry, dropped them into a cast iron skillet that was practically screaming with heat, and the result was a revelation. The aroma of smoked paprika hitting the hot avocado oil filled the kitchen, and within minutes, I had bites that were mahogany on the outside and incredibly juicy inside.
We are going for a hearty, comforting dish that feels indulgent but takes less time than ordering takeout. This isn't just about cooking meat, it is about creating a glossy, garlicky emulsion that clings to every single piece.
We are going to use chilled butter to finish the sauce, a classic trick that turns a simple pan of chicken into something you would pay thirty bucks for at a bistro. Trust me, once you see that butter melt into a velvety glaze, you will never go back to plain sautéed chicken again.
Vital Specs For Kitchen Success
The success of this dish relies on a few specific mechanical principles that happen in those ten minutes of cook time. We aren't just heating things up, we are managing heat transfer and fat stability to ensure the meat stays tender while the outside gets that desired texture.
It is a quick process, so having your station set up is the only way to win.
- Surface Dehydration: By removing every drop of water from the chicken's surface, the heat from the pan goes directly into browning the meat instead of evaporating steam.
- Thermal Retention: Using a heavy bottomed pan like a cast iron skillet prevents the temperature from dropping when the cold meat hits the surface, which is essential for a fast sear.
- Cold Butter Emulsion: Adding chilled butter at the end, away from high heat, allows the milk solids and fats to bind into a thick, glossy sauce rather than just breaking into an oily puddle.
- Smoke Point Management: Using avocado oil provides a high smoke point, meaning we can get the pan hot enough for a crust without the oil burning and becoming bitter.
| Thickness | Internal Temp | Rest Time | Visual Cue |
|---|---|---|---|
| 1 inch (2.5 cm) Cubes | 165°F (74°C) | 2 minutes | Golden brown crust with no pink in the center |
| 0.5 inch Cubes | 165°F (74°C) | 1 minute | Deep mahogany edges and firm to the touch |
| 1.5 inch Cubes | 165°F (74°C) | 3 minutes | Opaque throughout with juices running clear |
The rest time is just as important as the cook time because it allows the muscle fibers to relax and reabsorb those savory juices. If you cut into them the second they leave the pan, all that moisture ends up on your plate instead of in your mouth.
Essential Elements For Better Bites
Choosing the right ingredients is the difference between a "fine" dinner and one that everyone asks for the recipe for. We want high-quality fats and fresh aromatics to lead the way. Since this is a minimal tool recipe, the flavor has to come from the components themselves.
| Ingredient | Science Role | Pro Secret |
|---|---|---|
| Avocado Oil | over High heat vehicle | Its neutral flavor lets the smoked paprika and garlic shine without smoking out your kitchen. |
| Chilled Butter | Emulsifier | Keeping it cold is the key to that "monter au beurre" finish; it creates a creamy coating instead of a greasy mess. |
| Smoked Paprika | Color and Depth | This provides a deep red hue and an earthy, charred flavor that mimics a grill. |
| Kosher Salt | Moisture Drawer | Use Diamond Crystal if possible; its coarse grains distribute more evenly for better seasoning. |
If you are out of some of these, don't worry, we can work around it. For instance, if you want to try a different protein altogether, the same searing logic applies to my salmon bites recipe which uses a similar over high heat approach.
- 1.5 lbs chicken breast (680g): Cut into 1 inch cubes. Why this? Lean protein that cooks fast and stays tender if not overcooked.
- Substitute: Chicken thighs (trim the fat) for a richer, more forgiving meat.
- 1 tbsp avocado oil: Why this? High smoke point (520°F/270°C) is necessary for the sear.
- Substitute: Grapeseed oil or light olive oil (not extra virgin).
- 4 tbsp unsalted butter (56g): Cubed and chilled. Why this? Controls the salt level and creates the glossy sauce.
- Substitute: Ghee (though you lose the creamy milk solids).
- 4 cloves garlic: Minced. Why this? Provides the punchy, aromatic base for the cowboy butter style.
- Substitute: 1 tsp garlic powder in a pinch, but fresh is a million times better.
- 1/4 cup freshly grated Parmesan (25g): Why this? Adds umami and helps thicken the pan sauce.
- Substitute: Pecorino Romano for a saltier, sharper kick.
Minimal Tools For Maximum Flavor
You don't need a kitchen full of gadgets to make this work. In fact, fewer tools usually mean more control over the heat and less cleanup afterward. A busy home cook needs reliability, and that comes from a few solid pieces of equipment.
The most important tool here is a heavy bottomed skillet. I personally swear by a 12 inch cast iron skillet. It holds heat like a champion, meaning when you dump a pound and a half of chicken in there, the pan doesn't go cold.
If you don't have cast iron, a heavy stainless steel pan (like an All Clad) works great, just be prepared for a bit more sticking if you don't use enough oil.
You will also need a solid pair of tongs. Avoid those flimsy plastic ones; you want metal tongs that can grip the chicken cubes firmly so you can flip them quickly. Finally,, a good instant read thermometer is your insurance policy.
It takes the guesswork out of "is it done?" and ensures you never serve dry, overcooked meat to your family.
Cooking Steps For Perfect Searing
- Dry the meat. Use paper towels to pat the chicken cubes until they are completely dry to the touch. Note: This is the most important step for a crispy texture.
- Season thoroughly. In a medium bowl, toss the chicken with the salt, pepper, smoked paprika, and avocado oil until every piece is lightly coated.
- Heat the pan. Place a large cast iron skillet over medium high heat and wait 2 to 3 minutes until it is wisps of-smoke hot.
- Arrange the chicken. Add the meat to the pan in a single layer. Listen for the aggressive sizzle and ensure you don't overcrowd the pan.
- Sear undisturbed. Let the chicken cook for 2 to 3 minutes without moving it until a deep golden brown crust forms on the bottom.
- Flip and finish. Flip the pieces and cook for another 2 to 3 minutes until the internal temperature reaches 165°F (74°C).
- Kill the heat. Remove the pan from the burner. The residual heat will finish the sauce without burning the garlic.
- Build the emulsion. Add the chilled cubed butter, minced garlic, and red pepper flakes. Stir constantly as the butter melts until the sauce looks glossy and thick.
- Garnish and serve. Toss with the freshly grated Parmesan and chopped parsley until the cheese is just melted and clinging to the meat.
Fixing Common Searing Issues Fast
Even with the best intentions, things can go sideways in a hot pan. The most common heartbreak is when the chicken sticks to the surface. Usually, this is the pan's way of telling you it isn't finished browning yet. Meat naturally releases from the surface once that golden crust has formed.
If you try to force it, you will tear the meat and leave the best flavor stuck to the metal.
The Chicken Is Grey And Soggy
This usually happens because the pan wasn't hot enough or you crowded too many pieces in at once. When chicken is too close together, it releases moisture that turns into steam, effectively boiling the meat.
| Problem | Root Cause | Solution |
|---|---|---|
| Grey/Steamed Meat | Overcrowded pan or low heat | Cook in two batches and ensure the oil is shimmering before adding meat. |
| Burnt Garlic | Added garlic too early | Only add garlic after removing the pan from the heat source. |
| Rubbery Texture | Overcooked internal temp | Use a thermometer and pull the chicken at exactly 165°F (74°C). |
Another thing to watch for is the garlic. Garlic has a high sugar content and burns in seconds at searing temperatures. That is why we wait until the very end, using only the residual heat of the pan and the melting butter to soften it. It should smell fragrant and sweet, not like burnt tires.
- ✓ Pat the chicken with three layers of paper towels to ensure zero surface moisture.
- ✓ Wait for the oil to shimmer and just barely start to smoke before adding the first piece.
- ✓ Don't touch the chicken for at least 2 minutes after it hits the pan to allow the crust to set.
- ✓ Use chilled butter straight from the fridge to ensure the sauce emulsifies rather than breaking.
- ✓ Grate your Parmesan fresh; pre shredded cheese is coated in starch and won't melt smoothly.
Scaling Rules For Larger Groups
If you are cooking for a crowd or just want to have leftovers for the week, you can easily double this recipe. However, do not just throw 3 lbs of chicken into one skillet. You will end up with a soupy mess.
- To Double (2x): Keep the spices and salt at 1.5x the original amount first, then taste and adjust. You must work in batches. Sear half the chicken, remove it to a plate, then sear the second half. Combine everything at the very end when you add the butter and garlic.
- To Halve (0.5x): Reduce everything linearly, but keep an eye on the pan size. If you use a giant skillet for a small amount of chicken, the butter will spread too thin and burn. Use a smaller 8 inch skillet instead and reduce the cook time by about 20%.
For those who want a different style of cooking for a larger group without the stovetop work, you might find my baked chicken leg quarters more manageable as they utilize the oven for larger surface area.
| Method | Time | Texture | Best For |
|---|---|---|---|
| Stovetop Skillet | 10 minutes | Maximum crust and glossy pan sauce | Quick weeknight meals |
| oven-roasted | 20 minutes | Even browning, less "crunch" | Large batch meal prep |
| Air Fryer | 12 minutes | Very crispy, but no pan sauce | Health conscious snacks |
Flavor Twists For Every Palate
Once you master the base technique, you can change the flavor profile however you like. The "cowboy butter" style we are using is heavy on garlic and herbs, but it is just a starting point.
- Lemon Herb: Swap the smoked paprika for lemon zest and add a splash of fresh lemon juice with the butter at the end.
- Spicy Cajun: Replace the salt, pepper, and paprika with your favorite Cajun seasoning blend. Increase the red pepper flakes for more heat.
- Honey Garlic: Stir in a tablespoon of honey during the butter emulsion phase for a sticky, sweet and savory finish.
Common Cooking Misconceptions
One of the biggest myths is that you should bring your chicken to room temperature before cooking. In a professional kitchen, we call this "tempering," but for small cubes like this, it is actually counterproductive.
Keeping the chicken cold until it hits the pan gives you a longer window to get a deep sear on the outside without overcooking the center. If the cubes are already warm, they will hit 165°F before you even have a chance to get a good crust.
Another myth is that salt "draws out moisture" and should only be added at the end. While salt does draw out moisture, if you pat the meat dry immediately after tossing it with salt and oil, you actually create a slightly tacky surface that browns even better.
The salt also needs time to penetrate the meat fibers to season the chicken all the way through, not just on the surface.
Storage Tips For Meal Preppers
These bites stay hearty and delicious for up to 4 days in the fridge. To store them, let them cool down for about 20 minutes (but don't leave them out for more than 2 hours). Place them in an airtight glass container.
The butter sauce will solidify in the fridge, but it will melt back into a glossy glaze when you reheat it.
To reheat, avoid the microwave if you can. The microwave tends to turn chicken into rubber. Instead, toss them back into a cold skillet with a tiny splash of water or chicken broth. Cover the pan and heat over medium low until the sauce melts and the chicken is warmed through.
This takes about 5 minutes and preserves that velvety texture we worked so hard for. You can also freeze these for up to 2 months. Thaw them overnight in the fridge before following the skillet reheating method.
For a zero waste tip, don't toss the stems from your parsley. Finely mince them and add them to the pan at the same time as the garlic. They have a ton of concentrated flavor and add a nice little crunch to the final dish.
If you have leftover garlic butter in the pan, wipe it up with a piece of crusty bread it is liquid gold.
Serving Ideas For Family Dinner
I love serving these bites over a bed of fluffy mashed potatoes or a pile of jasmine rice to soak up every drop of that garlic butter sauce. If you want to keep things on the lighter side, they are incredible over a crisp Caesar salad or tucked into some butter lettuce wraps with a drizzle of extra lime.
If you are looking for a more "set it and forget it" side dish, these bites pair perfectly with my easy baked ricotta chicken if you are doing a big family buffet style. Personally, I think the best way to enjoy them is right out of the pan with a few toothpicks as a high protein appetizer. No matter how you serve them, the combination of that shatter crisp exterior and the velvety garlic finish makes them feel like a true million dollars meal every single time.

Recipe FAQs
How to make really good chicken bites?
Pat the chicken cubes dry with paper towels before seasoning. Moisture prevents the meat from searing, so ensuring they are completely dry to the touch is the key to achieving that essential golden brown crust.
What's the secret to tender chicken bites?
Avoid overcooking by pulling the pan off the heat the moment they hit 165°F internally. If you enjoyed learning how to balance heat for the perfect sear here, the same principle of temperature precision is essential for our perfectly cooked chicken piccata.
Is chicken breast good for diabetics?
Yes, it is a high protein, low-carbohydrate choice. Because this recipe relies on lean breast meat and spices without any added sugars or breading, it fits well into a blood sugar-conscious diet.
How to prepare chicken mini bites?
Cut your chicken breast into uniform 1 inch cubes. Keeping the pieces the same size ensures they all finish cooking at the exact same time, preventing smaller pieces from drying out while larger ones catch up.
Is it true I need to bread these for a crispy texture?
No, this is a common misconception. You achieve a fantastic crispy crust simply by searing the seasoned meat in a wisps-of-smoke hot cast iron skillet without the need for any flour or breadcrumbs.
How to store leftover chicken bites?
Cool them for 20 minutes, then seal in an airtight glass container. They will remain delicious in the refrigerator for up to 4 days, with the buttery sauce glaze returning to its glossy state once gently reheated.
How to reheat without making the chicken rubbery?
Place the bites in a cold skillet with a splash of water or broth, then cover and heat over medium low. This gentle steam method prevents the protein fibers from toughening, which almost always happens when using a microwave.
Garlic Butter Chicken Bites
Ingredients:
Instructions:
Nutrition Facts:
| Calories | 408 kcal |
|---|---|
| Protein | 47.8 g |
| Fat | 23.2 g |
| Carbs | 2.4 g |
| Fiber | 0.6 g |
| Sugar | 0.2 g |
| Sodium | 678 mg |
