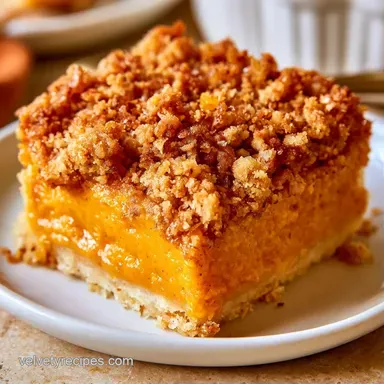
Pumpkin Crisp with Brown Sugar Oats
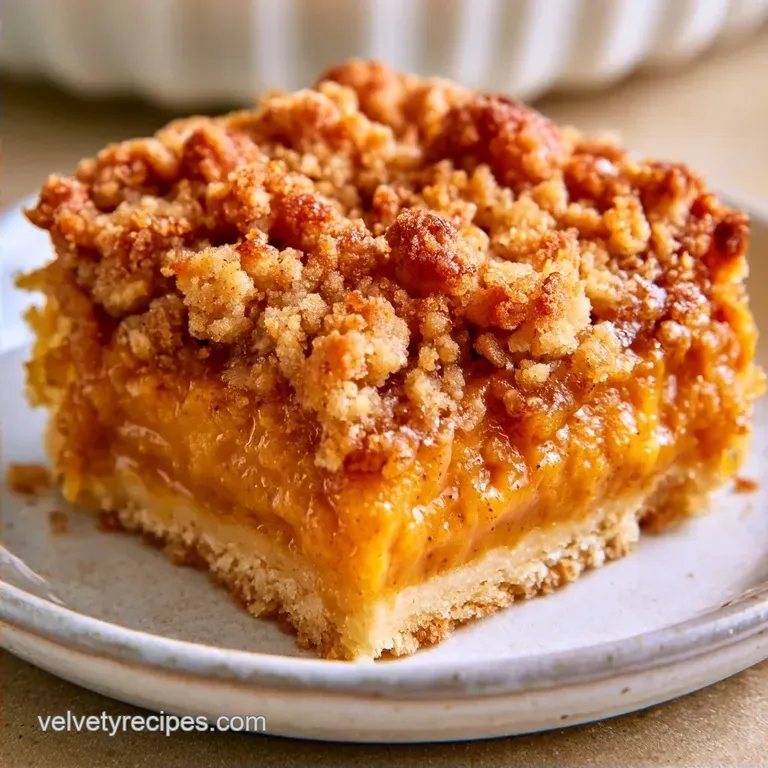
- Time: 10 min active + 35 min baking
- Flavor/Texture Hook: Mahogany brown oats with a creamy, spiced center
- Perfect for: Fast holiday desserts or a cozy Sunday night
The smell of cinnamon and cloves hitting a hot oven is basically the official start of fall for me. For years, I tried to make traditional pies, but I always ended up with a soggy bottom or a crust that shrank the second it touched the pan.
It's a frustrating cycle of chilling dough and praying the edges don't burn before the middle sets.
Then I started skipping the pastry entirely. By swapping the crust for a chunky oat crumble, you get all the richness of a custard but none of the stress. This Pumpkin Crisp focuses on the contrast between a smooth, warm filling and a topping that actually stays crunchy.
You can expect a dessert that feels indulgent but comes together in about an hour. It's not about being a pro, but about using a few smart shortcuts to get a result that tastes like you spent all day in the kitchen.
Easy Pumpkin Crisp Recipe
The beauty of this dish is how it balances the heavy, spiced pumpkin with the saltiness of cold butter. Most people overthink the filling, but the goal is just a stable custard that doesn't run when you scoop it.
Right then, let's look at how the textures work. The base needs to be dense, while the topping needs those little pea sized lumps of butter to create a chewy, uneven surface. This is what makes a Pumpkin Crisp feel homemade rather than like something from a box.
But what about the pumpkin? Using a high-quality canned puree is usually the way to go here. Serious Eats' testing shows that homemade puree can often be too watery, which leads to a filling that never quite sets.
Why This Texture Works
Evaporated Milk: This concentrates the fats and proteins, giving the filling a stable, custard like structure.
Cold Butter: Keeping the butter cold prevents it from melting into the flour, leaving small chunks that create a chewy topping.
Fresh vs. Shortcut Comparison
| Feature | Fresh Roasted Pumpkin | Canned Puree | Impact |
|---|---|---|---|
| Prep Time | 1 hour+ | 0 minutes | Canned is significantly faster |
| Consistency | Variable water levels | Standardized | Canned ensures a set filling |
| Flavor | Bright and earthy | Deep and concentrated | Canned is more traditional for crisps |
What Each Ingredient Does
I've found that the ratio of brown sugar in the topping versus the filling is what makes the flavors pop. The topping needs more sugar to caramelize and get that deep color.
Ingredient Deep Dive
| Ingredient | What It Does | Best Swap |
|---|---|---|
| Evaporated Milk | Thickens the custard | Heavy cream (will be richer) |
| Rolled Oats | Adds chew and structure | Quick oats (will be softer) |
| Brown Sugar | Provides caramel notes | Maple syrup (will be runnier) |
| Cold Butter | Creates the crumble | Coconut oil (will be less buttery) |
The Pumpkin Crisp requires a specific balance of spices. I use a mix of cinnamon, ginger, and cloves to hit those traditional notes. If you're not a fan of cloves, you can just double up on the cinnamon, though you'll lose a bit of that "warm" depth.
Ingredients & Substitutes
- 15 oz (425g) canned pumpkin puree Why this? Consistent moisture for a stable set (Swap: Fresh puree, but drain well)
- 1/2 cup (100g) packed light brown sugar Why this? Adds molasses flavor to the base (Swap: Coconut sugar)
- 1 large (50g) egg Why this? Binds the custard together (Swap: Flax egg for vegan)
- 3/4 cup (180ml) evaporated milk Why this? Prevents the filling from weeping (Swap: Full fat coconut milk)
- 1 tsp (2.6g) ground cinnamon (Swap: Pumpkin pie spice)
- 1/2 tsp (1.1g) ground ginger (Swap: Powdered ginger)
- 1/4 tsp (0.6g) ground cloves (Swap: Allspice)
- 1/4 tsp (1.5g) salt (Swap: Sea salt)
- 1 cup (90g) old-fashioned rolled oats Why this? Holds its shape during baking (Swap: Steel cut oats, soaked)
- 1 cup (125g) all purpose flour (Swap: Spelt flour)
- 1 cup (200g) packed light brown sugar (Swap: Dark brown sugar for more chew)
- 1/2 tsp (1.1g) ground cinnamon (Swap: Nutmeg)
- 1/2 cup (113g) unsalted butter, cold and cubed Why this? Essential for a chunky crumble (Swap: Cold salted butter, reduce added salt)
- 1/4 tsp (1.5g) salt (Swap: Kosher salt)
Gear for the Job
No specialized gear is necessary. A basic 8x8 inch baking dish is perfectly fine, though I suggest using a 9 inch cast iron skillet if you own one. The cast iron provides more even heat distribution and helps create a slightly caramelized crust on the edges of the Pumpkin Crisp.
For the topping, you can use a pastry cutter, but your fingers are just as effective. The aim is to blend the butter into the oats and flour without overworking the mixture. If you prefer a food processor, be cautious not to over process the topping into a paste.
Decision Shortcut
| Goal | What to change |
|---|---|
| More Crunch | Increase oats by 1/4 cup |
| Richer Base | Use heavy cream instead of milk |
| Lighter Topping | Replace 1/4 cup flour with almond flour |
Bringing It Together
Now, let's get baking. The key here is to avoid over mixing your crumble topping.
- Bring the oven up to 350°F (175°C).
- Whisk the pumpkin puree, 1/2 cup brown sugar, egg, evaporated milk, cinnamon, ginger, cloves, and salt in a medium bowl until the consistency is velvety and smooth.
- Pour the mixture into a 9 inch cast iron skillet or an 8x8 inch baking dish, using a spatula to level the top.
- In another bowl, stir together the flour, rolled oats, 1 cup brown sugar, cinnamon, and salt.
- Incorporate the cold, cubed butter into the oat mix. Use your fingertips or a pastry cutter until it looks like coarse crumbs with some pea-sized pieces remaining.
- Spread the crumble evenly over the pumpkin filling, making sure to cover the edges to stop the custard from browning too much.
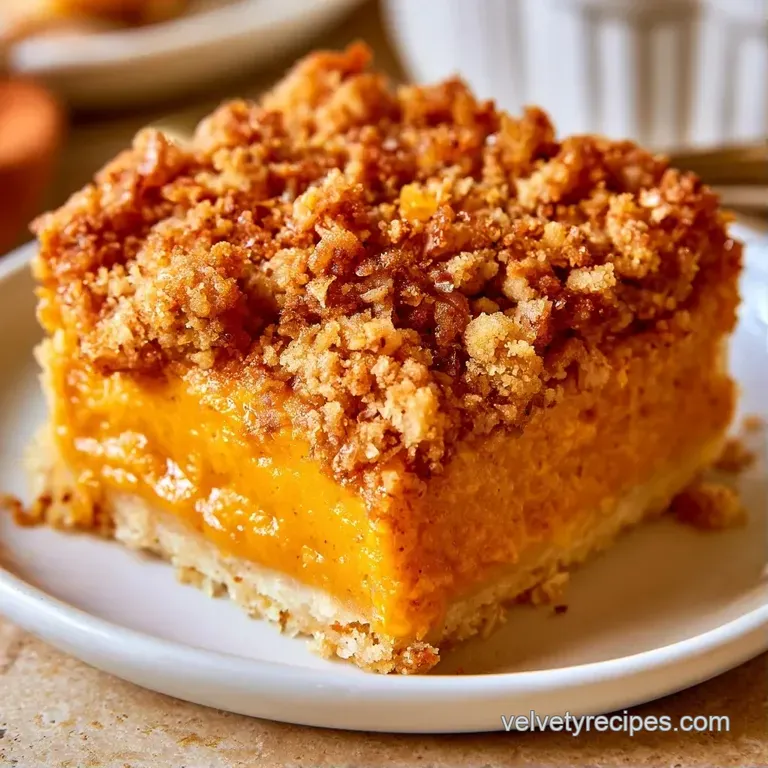
- Bake on the center rack for 30–35 minutes until the filling is set and the topping is a deep, golden mahogany color.
- Allow the Pumpkin Crisp to cool for 10–15 minutes before serving to ensure the custard is set and doesn't run.
Chef Note: Cast iron skillets heat the bottom more than glass dishes. Be sure to check the edges around the 30-minute mark.
The One Thing That Changes Everything
The real trick here is the temperature of the butter. If you let the butter soften, the topping becomes a cookie like sheet rather than a crumble. You want those distinct clumps of oats and flour.
When the butter is cold, it melts slowly in the oven. This creates little steam pockets that lift the oats, giving the Pumpkin Crisp that signature chew. If the butter is too warm, it just absorbs into the flour and you lose that texture.
For those who love a more complex flavor, I sometimes add a pinch of espresso powder to the topping. It doesn't make the dessert taste like coffee, but it deepens the brown sugar and makes the Pumpkin Crisp taste more "grown up."
Avoiding Kitchen Disasters
Most issues with this recipe happen during the mixing stage or by pulling the dish out too early. If the center is too jiggly, it just needs another five minutes. Don't panic; the carryover heat will do some of the work once it's on the counter.
Fixing a Sandy Topping
If your topping looks like sand instead of crumbs, you likely over mixed the butter or the butter was too warm. To prevent this next time, use butter straight from the fridge. For the current batch, you can drizzle a tiny bit of melted butter over the top before baking to help it clump.
Solving a Jiggly Center
A center that wobbles too much means the egg hasn't fully set. This often happens if the oven is running cold. Put it back in for 5 minutes, but check the edges first to make sure they aren't burning.
Stopping Burnt Edges
The edges of a Pumpkin Crisp can brown faster than the middle. If you see the sides getting too dark, simply tent a piece of aluminum foil over the top for the last 10 minutes. This protects the topping while the center finishes cooking.
Troubleshooting Guide
| Problem | Root Cause | Solution |
|---|---|---|
| Sandy Topping | Butter too warm | Use frozen butter cubes |
| Runny Filling | Too much liquid/Underbaked | Bake 5 mins more; let rest 15 mins |
| Burnt Topping | Oven rack too high | Move to center rack; use foil tent |
Keeping It Fresh
This will keep refrigerated for 3 days. I suggest covering it with a loose piece of parchment paper or foil, as plastic wrap can stick to the topping.
For the freezer, you can store individual squares. Let the Pumpkin Crisp cool completely, slice it, and wrap each piece in parchment paper before placing them in a freezer bag. These will remain good for about 2 months.
To bring back that fresh baked crunch, skip the microwave. Instead, heat a slice in a toaster oven at 300°F (150°C) for 5-8 minutes. This restores the crispness of the oats without making the pumpkin filling rubbery.
Pro Tip: If you have extra pumpkin puree in the can, freeze it in 1/2 cup portions on a baking sheet before transferring them to a bag. These are great for adding to oatmeal or morning smoothies.
Make It Your Own
I enjoy experimenting with the topping to shift the overall mood of the dessert. For a nuttier taste, substitute 1/4 cup of the oats with chopped walnuts or pecans to add a sophisticated bitter contrast to the sweet pumpkin.
To make the dish more indulgent, stir a handful of white chocolate chips into the crumble. This sweetness pairs wonderfully with the cloves and ginger. To create a lighter version, use a pumpkin oatmeal cookies inspired topping by adding extra cinnamon and cutting back on the butter.
You can also create a hybrid dessert by layering sliced apples on top of the pumpkin puree before adding the crumble. For a more straightforward option when hosting a crowd, my mini pumpkin pies are a fantastic alternative.
Variation Guide
| Variation | Change | Result |
|---|---|---|
| Nutty | Add 1/4 cup pecans | Earthy, crunchy contrast |
| Maple | Use maple syrup in filling | Brighter, woodsy sweetness |
| Apple Pumpkin | Layer apples under crumble | Tartness to cut the richness |
Best Ways to Serve
A serving of vanilla bean ice cream is the perfect companion for this dessert. Watching the frozen treat melt over the hot Pumpkin Crisp is truly a highlight.
For a more elegant touch, top your slice with maple infused whipped cream. Simply beat heavy cream with a bit of maple syrup and a touch of salt until soft peaks appear. That hint of salt really brings out the richness of the pumpkin.
If you're settling in for a relaxing evening, try a warm piece drizzled with salted caramel. The deep, slightly bitter notes of the caramel complement the dark hue of the crumble. Just be sure to let the Pumpkin Crisp rest for 15 minutes; cutting it too early means you'll get a sloppy portion instead of a perfect square.
To be fair, this treat is even more delicious the following day. I love eating a chilled piece for breakfast alongside a bold cup of coffee. As the flavors meld overnight, the texture transforms, making the Pumpkin Crisp reminiscent of a dense cake.
Recipe FAQs
What makes a pumpkin crisp different from a crumble?
A crisp typically uses oats in the topping for a chewier texture. This recipe uses rolled oats and flour to create a distinct contrast with the smooth custard.
How to get baked pumpkin crispy?
Use cold, cubed butter and work it in until you see pea-sized chunks. These little pockets of fat create the mahogany brown, crunchy surface.
Can pumpkin crisp be frozen?
You can freeze the baked dessert for a few months. Thaw it in the fridge and reheat in the oven to restore the topping's crunch.
Is it true I need a pie crust for pumpkin custard?
This one's false: a buttery oat topping provides all the structure you need. It removes the stress of dealing with a soggy bottom.
Why is my pumpkin filling still runny after baking?
The custard needs time to firm up as it cools. Let the dish rest for 10 to 15 minutes before scooping.
Do I have to make my own pumpkin puree for the best taste?
Actually, no. Canned puree is more consistent and prevents the filling from becoming too watery.
Which sides pair best with this dessert for Thanksgiving?
A scoop of vanilla ice cream or a dollop of whipped cream balances the warm spices. If you enjoyed the flavor profile here, see how we use similar warmth in our cinnamon apple pie.
How do I know when the crisp is fully cooked?
Look for the filling to be set and the topping to reach a deep mahogany color. It should bake for 30 to 35 minutes on the center rack at 350°F.
Pumpkin Crisp With Oats