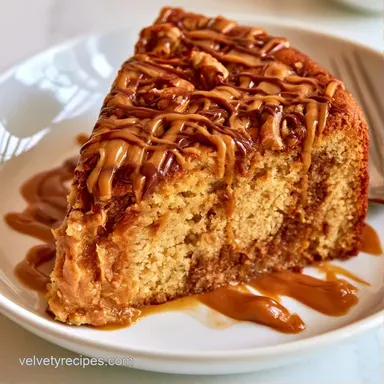
Guilt-Free Reeses Peanut Butter Cake
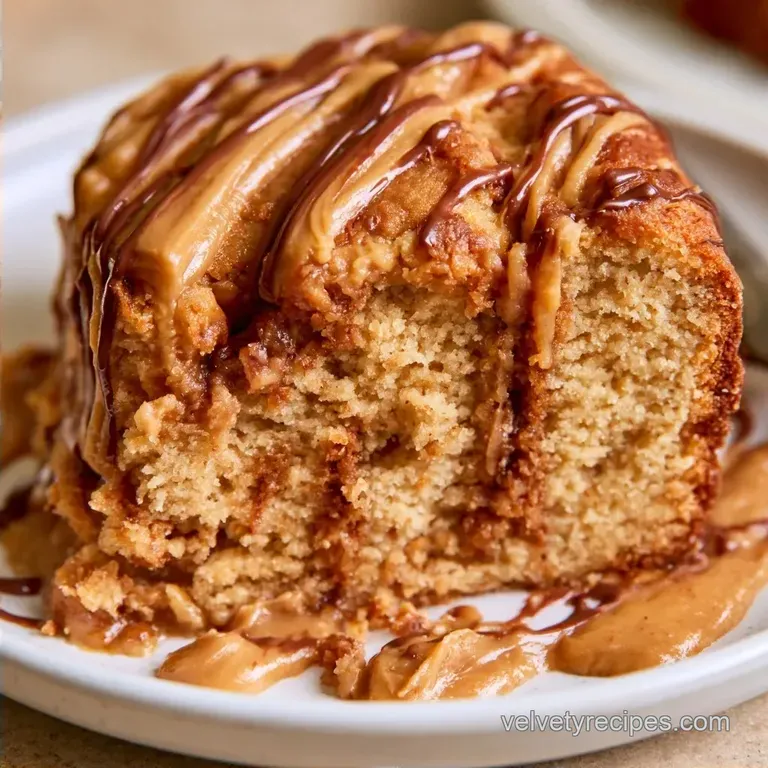
- Time: 20 minutes prep plus 30 minutes in the oven
- Taste Profile: Rich, fudgy, and salty-sweet
- Ideal for: Birthday celebrations or indulgent cheat days
Reeses Peanut Butter Cake
The smell of toasted peanuts and melting chocolate filling the kitchen is one of those scents that just stops you in your tracks. I remember trying a version of this once that used a store-bought mix and a tub of frosting, and it tasted like straight corn syrup.
It was way too sweet, almost oily, and honestly, it felt heavy in the stomach after just two bites. I wanted something that actually tasted like the peanut butter, not just sugar flavored with peanut essence.
That's why I focused on natural creamy peanut butter for this Reeses Peanut Butter Cake. Using the stuff that's just peanuts and salt changes everything. It brings a deep, roasted earthiness that cuts through the chocolate glaze, making the whole thing feel more like a treat and less like a sugar bomb.
You get that specific salty sweet punch that makes the original candy bars so addictive.
You can expect a cake that's dense but not leaden. The buttermilk adds a slight tang that keeps the richness in check, and the maple syrup gives it a moisture that lasts for days. This Homemade Reese's Peanut Butter Cake doesn't rely on frosting to do the heavy lifting; the cake itself carries the flavor.
Recipe Specs
Before we get into the batter, let's look at the logistics. This is a straightforward bake, but you have to respect the cooling time. If you pour that chocolate glaze on a hot cake, it'll just slide off and puddle at the bottom of the pan.
For a better experience, I recommend using a 9x9 inch pan. It gives you the best height to width ratio, ensuring the center bakes through without the edges drying out. If you use a larger pan, your bake time will drop, but you'll lose that thick, fudgy quality we're after.
- For a fudgy center
- bake exactly 28 minutes.
- For a firmer crumb
- bake for 32 minutes.
- For a glossier glaze
- add an extra teaspoon of maple syrup.
Fresh vs. Shortcut Comparison
| Feature | Natural Ingredients | store-bought Shortcut | Impact |
|---|---|---|---|
| Flavor | Roasted & Nutty | Artificial Vanilla | Depth of taste |
| Texture | Moist & Dense | Spongy/Airy | Mouthfeel |
| Sweetness | Balanced | Cloying | Palate fatigue |
The Logic Behind Taste
I've often puzzled over why some nut-based cakes end up dense and heavy while others remain light. The secret usually lies in the relationship between fats and leavening agents. Much like my Strawberry Ice Cream Cake, which plays with texture, this recipe focuses on achieving a similar balance through flavor.
- Buttermilk Balance: Buttermilk's lactic acid helps tenderize the gluten, ensuring the cake doesn't become overly chewy. Additionally, it works with the baking powder to provide a lift that offsets the richness of the peanut butter.
- Maple Syrup Moisture: Substituting granulated sugar with syrup results in a moister, tighter crumb. Because it doesn't crystallize like white sugar, the Reeses Peanut Butter Cake maintains its softness for several days in the refrigerator.
- Dark Chocolate Contrast: A 70% cocoa chocolate adds a necessary hit of bitterness. This prevents the peanut butter from dominating the palate and keeps the flavor profile complex.
Ingredient Deep Dive
Not all peanut butter is created equal. I use the natural, stir style creamy peanut butter here. The brands that add palm oil or sugar tend to make the cake feel "waxy." Natural PB lets the actual nut flavor shine and blends better with the maple syrup.
What Each Ingredient Does
| Ingredient | Role | If You Don't Have It |
|---|---|---|
| Natural Peanut Butter | Base flavor and fat | Almond butter (tastes nuttier, less "Reese's") |
| low-fat Buttermilk | Tenderness and lift | Milk + 1 tbsp lemon juice (let sit 5 mins) |
| Maple Syrup | Liquid sweetener | Honey (stronger flavor, slightly denser) |
| Dark Chocolate | Bitter contrast | Semi sweet chips (sweeter, less punch) |
Full Ingredients List
- 2 cups (250g) all purpose flour
- 3/4 cup (190g) natural creamy peanut butter Why this? Avoids waxy texture from stabilizers
- 1/2 cup (120ml) pure maple syrup
- 2 large (100g) eggs
- 1 cup (240ml) low-fat buttermilk Why this? Adds acidity for a tender crumb
- 1 tbsp (12g) baking powder
- 1/2 tsp (3g) sea salt
- 1 tsp (5ml) pure vanilla extract
- 4 oz (115g) dark chocolate (70% cocoa)
- 1/4 cup (60ml) unsweetened almond milk
- 2 tbsp (32g) natural peanut butter (for glaze)
- 1 tbsp (15ml) maple syrup (for glaze)
- 3 oz (85g) Reese's Peanut Butter Cups Why this? The iconic flavor punch
- 1 pinch (1g) flaky sea salt
Essential Kitchen Gear
You don't need professional equipment to get this right, though some tools simplify the process. While an electric stand mixer is convenient, a hand mixer or a strong whisk will do the job if you don't mind a bit of manual effort.
Parchment paper is the most critical tool here. Even with greased pans, cakes can often stick, and the Reeses Peanut Butter Cake is especially prone to this because of its moist texture. Using a liner lets you lift the entire cake out easily for perfect slices.
For the glaze, make sure to use a microwave safe glass bowl. Plastic containers may warp or develop hot spots that scorch the chocolate, destroying that smooth, glossy look.
Detailed Baking Steps
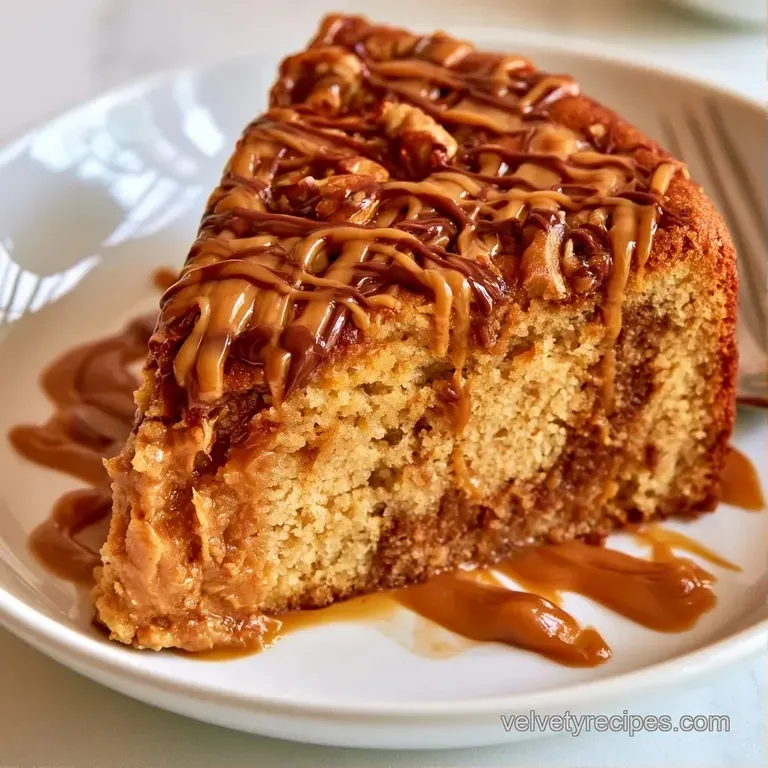
- 1. Heat
- 350°F (175°C)
- 2. Pan
- 9x9 inch square
- 3. Timing
- 28-32 minutes
1. Preparing the Batter
Bring your oven to 350°F (175°C) and line a 9x9 inch square baking pan with parchment paper. In a large bowl, whisk the peanut butter and maple syrup until creamy. Beat in the eggs one by one, then stir in the buttermilk and vanilla extract until the batter is smooth and cohesive.
Note: Adding eggs individually helps them emulsify properly with the fat.
2. Folding and Baking
Sift the flour, baking powder, and salt into the wet mixture. Gently fold using a spatula until just combined. Stop mixing the moment the flour streaks vanish to prevent the cake from becoming tough.
Pour the batter into the pan and bake for 28-32 minutes until a toothpick comes out with a few moist crumbs.
3. Making the Glaze
While the cake cools completely, combine the chopped dark chocolate, peanut butter, maple syrup, and almond milk in a microwave safe bowl. Heat the glaze in 20-second intervals, stirring between each, until it is smooth and glossy. Note: Short bursts keep the chocolate from seizing.
4. Final Touches
Spread the glaze over the cooled cake, smoothing it to the edges with a spatula. Press chopped Reese's cups into the topping immediately before it sets. Finish with a dusting of flaky sea salt to enhance the flavors.
Why This Recipe Works
Since we've already covered the chemistry of the crumb, let's talk about the layering. The Easy Reese's Peanut Butter Cake works because it hits every part of the palate. You have the deep saltiness of the cake, the bitterness of the dark chocolate, and the sugary crunch of the candy pieces on top.
It's all about the contrast. If the cake were as sweet as the topping, it would be overwhelming. By keeping the base more focused on the peanut flavor, it creates a platform for the chocolate to shine. This is why this Quick Reese's Peanut Butter Cake feels more balanced than a traditional frosting heavy dessert.
Common Baking Pitfalls
Nut cakes are prone to sinking in the middle. This typically occurs if the batter is overmixed or if heat escapes because the oven was peeked into before the structure set. If your cake dips, don't worry. Simply fill the gap with additional glaze and chopped peanut butter cups.
It will resemble a lava cake and taste even better.
Another frequent problem is a grainy glaze. This happens when the chocolate is overheated, causing the fats to separate. If you notice oil pooling on the surface, just whisk in a teaspoon of almond milk. The texture should smooth out quickly.
Fixing Texture Issues
| Problem | Root Cause | Solution |
|---|---|---|
| Sunken Center | Overmixing or oven temp drop | Fill dip with extra glaze |
| Grainy Glaze | Overheating chocolate | Whisk in a splash of almond milk |
| Dry Edges | Oven too hot or overbaked | Reduce bake time by 2 mins |
| Dense Crumb | Too much flour or under leavened | Sift flour and check baking powder date |
Storage and Waste Tips
This cake stays fresh remarkably well. Stored in an airtight container, it lasts up to 5 days in the fridge. I actually find it better cold; the glaze sets and the cake becomes more fudgy. For a melty chocolate experience, simply warm a slice in the microwave for 10 seconds.
To freeze, wrap individual slices in parchment paper and then foil. They stay good for 3 months; just thaw them in the fridge overnight.
- Leftover Glaze
- Drizzle any extra glaze over sliced apples or bananas for a quick snack.
- Buttermilk Scraps
- Use a bit of remaining buttermilk as a marinade to tenderize chicken breast.
- Nut Butter Jars
- Use a little warm maple syrup to scrape every last bit of peanut butter from the jar before recycling.
Easy Flavor Swaps
If you want to tweak this Homemade Reese's Peanut Butter Cake, there are a few ways to do it without ruining the balance.
For the Healthier Peanut Butter Base
You can swap the maple syrup for date paste. It adds a bit more fiber and a deeper, caramel like flavor. Note that this will make the cake slightly denser, so you might need an extra half teaspoon of baking powder to keep it light.
For a Different Chocolate Profile
If dark chocolate is too bitter for you, use milk chocolate. It'll make the recipe a bit sweeter, so I'd suggest adding an extra pinch of sea salt to the batter to keep things interesting. If you're feeling adventurous, try a white chocolate glaze for a "white peanut butter" version.
For the Garnish
Instead of Reese's cups, try chopped roasted peanuts and a swirl of melted peanut butter on top. This makes it a more traditional peanut butter cake while keeping the rich texture.
Best Ways to Serve
This cake is incredibly rich, so you want to pair it with something that cleanses the palate. A dollop of unsweetened whipped cream or a handful of fresh raspberries adds a brightness that cuts through the fat.
If you're serving this at a party, slice it into small 2 inch squares. It's a potent dessert, and smaller portions allow people to enjoy it without feeling overwhelmed. For a more decadent experience, serve it warm with a scoop of vanilla bean ice cream.
For a surprising twist, pair a slice with a drizzle of Lemon Velvet Sauce. The citrus acidity creates a sharp contrast with the heavy peanut butter, making the whole experience feel more sophisticated.
Right then, you've got everything you need to get this Reeses Peanut Butter Cake in the oven. Trust me on the natural peanut butter it's the one change that makes the whole thing feel like it came from a high end bakery rather than a box mix. Let's crack on!
Recipe FAQs
Can this cake be frozen?
Yes, for up to 3 months. Wrap individual slices in parchment paper followed by foil and thaw in the fridge overnight.
How to get a smooth glaze?
Microwave in 20-second bursts. Stir between each interval to ensure the chocolate and peanut butter emulsify without scorching.
Is it true that the cake must be served warm for the best flavor?
Not true. Cooling the cake completely allows the texture to become more fudgy and the glaze to set properly.
Why is buttermilk used in the batter?
It adds moisture and tenderness. If you enjoyed the velvety texture created by this acid base reaction, see how we apply similar moisture control in our cheesy breadsticks.
Reeses Peanut Butter Cake