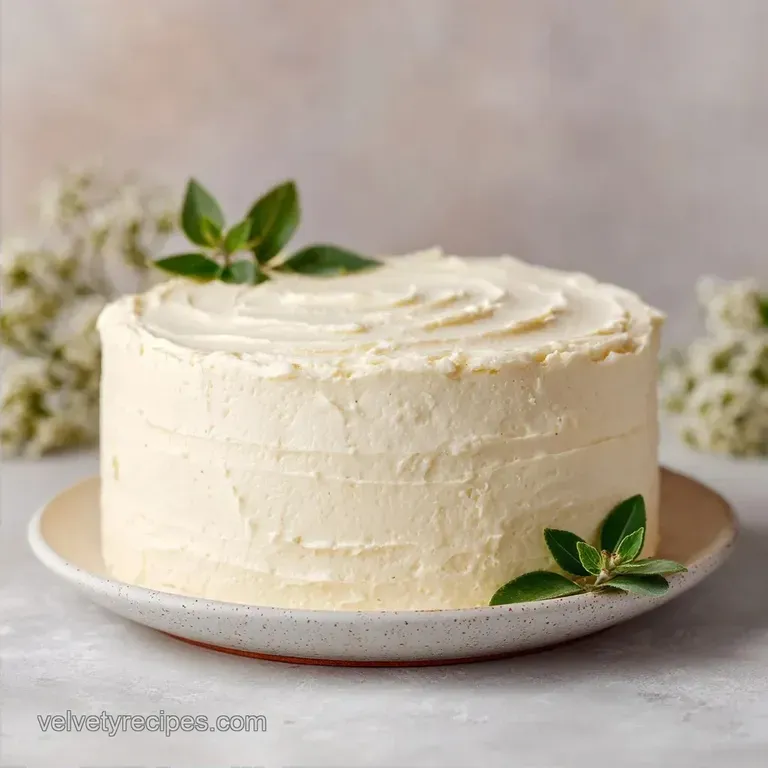
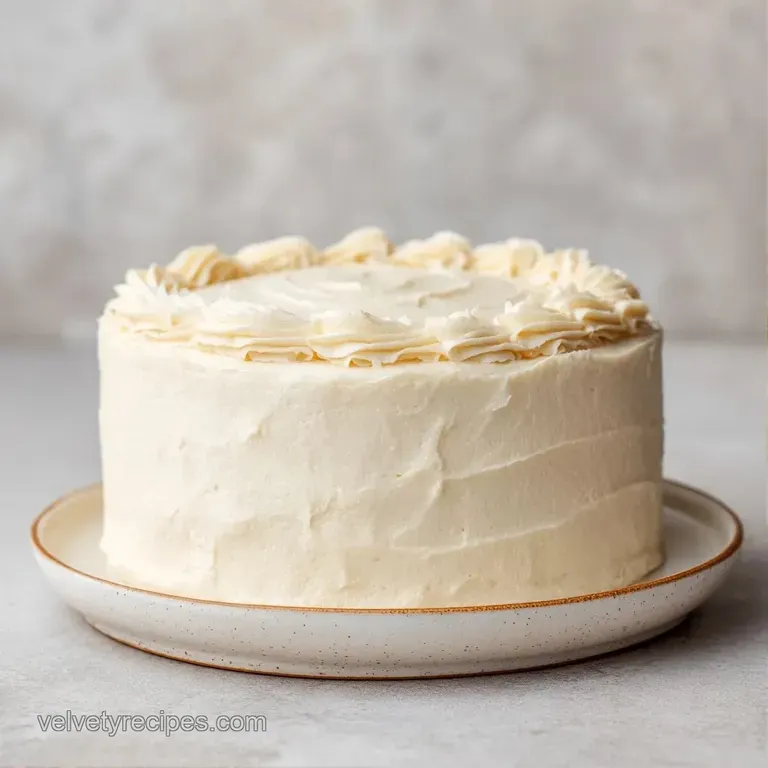
Vanilla Velvet Layer Cake: Moist and Silky
- Time: 30 min active + 2 hrs 30 mins cooling and chilling
- Flavor/Texture Hook: Silky, tight crumbed sponge with a cloud like buttercream
- Perfect for: Birthdays, anniversaries, or when you just want to feel fancy
- Vanilla Velvet Layer Cake Guide
- Why the Crumb Stays Smooth
- Component Analysis
- The Ingredient List
- Tools You'll Need
- How to Bake the Cake
- Fixing Common Cake Problems
- Troubleshooting Common Issues
- Fun Flavor Variations
- Scaling the Recipe
- Storage and Freshness Tips
- How to Serve and Pair
- Recipe FAQs
- 📝 Recipe Card
Vanilla Velvet Layer Cake Guide
The smell of warm vanilla and melted butter is basically my favorite scent in the world. There is something about it that just feels like a hug in a kitchen. I remember the first time I saw one of these cakes at a family reunion in the South.
It wasn't like the usual crumbly sponge cakes my aunts made; it had this smooth, almost velvety look to the slice that made it look like it came from a high end shop. It's a tradition born from the American desire to take a simple vanilla cake and make it feel like a luxury event.
For a long time, I thought the secret was some fancy ingredient or a professional mixer. I tried everything from adding extra cornstarch to obsessively sifting my flour four times. But the truth is much simpler. It's all about how you handle the butter.
Once I stopped "creaming" the butter and sugar and started mixing the butter directly into the flour, everything changed.
This Vanilla Velvet Layer Cake isn't just about the taste, though it's rich and clean. It's about the experience of cutting into a layer that feels consistent and soft. We're aiming for a cake that holds its shape under a heavy frosting but melts the second it hits your tongue.
Let's get into how we actually make this happen.
Why the Crumb Stays Smooth
The magic here isn't magic at all, just a bit of kitchen physics. Most cakes start by beating butter and sugar. We're doing things differently to control the structure.
Fat Coating: Mixing softened butter into the flour coats the flour particles in fat, which stops the gluten from developing too much. This is why the cake feels "velvet" instead of "bready."
Emulsion Stability: Using room temperature eggs and milk prevents the batter from breaking. When everything is the same temp, the fats and liquids bond better, leading to a more uniform rise.
Air Management: We only mix until the streaks disappear. Over mixing pushes too much air out and develops too much gluten, which would give us a tough cake instead of a silky one.
The Chill Factor: The crumb coat is a thin layer of frosting that seals in the crumbs. Chilling it for 30 minutes locks the structure so the final layer goes on smooth as glass.
| Method | Time | Texture | Best For |
|---|---|---|---|
| Oven Bake | 30 min | Even, airy, stable | Classic layers, tiered cakes |
| Stovetop/Steam | 60 min | Dense, moist, pudding like | Small batches, moisture heavy cakes |
Component Analysis
Understanding what each ingredient does helps you avoid those "why did this happen" moments. Here is a look at the heavy hitters in this recipe.
| Ingredient | Science Role | Pro Secret |
|---|---|---|
| All purpose flour | Structure/Frame | Measure by weight (375g) to avoid a dry cake |
| Unsalted butter | Tenderness/Fat | Use a high fat European butter for a richer taste |
| Baking powder | Lift/Volume | Fresh powder is a must; check the date on the tin |
| Whole milk | Hydration/Softness | Room temp is non negotiable for a smooth emulsion |
The Ingredient List
Right then, let's get your shopping list sorted. Make sure your dairy is out of the fridge for a couple of hours before you start.
For the cake batter:
- 3 cups (375g) All purpose flourWhy this? Provides the reliable structure needed for layering
- 1 ½ cups (300g) Granulated sugarWhy this? Sweetens and tenderizes the crumb
- 1 tbsp (15g) Baking powderWhy this? Gives the cake its lift
- ½ tsp (3g) SaltWhy this? Balances the sweetness
- 1 cup (225g) Unsalted butter, softenedWhy this? The key to the velvet texture
- 4 large (200g) Eggs, room temperatureWhy this? Binds everything and adds richness
- 1 cup (240ml) Whole milk, room temperatureWhy this? Ensures a silky batter
- 1 tbsp (15ml) Pure vanilla extractWhy this? high-quality extract equals a better aroma
For the velvet buttercream frosting:
- 2 cups (450g) Unsalted butter, softenedWhy this? Base for the fluffy texture
- 6 cups (720g) Powdered sugarWhy this? Creates the sweetness and structure
- 2 tbsp (30ml) Heavy creamWhy this? Adjusts the consistency
- 1 tbsp (15ml) Pure vanilla extractWhy this? Ties the frosting to the cake flavor
- Pinch (1g) SaltWhy this? Cuts through the heavy sugar
Substitution Guide
| Original Ingredient | Substitute | Why It Works |
|---|---|---|
| All purpose flour | Cake flour | Lighter protein; Note: Results in an even softer, finer crumb |
| Whole milk | Buttermilk | Adds tang and tenderness; Note: Add 1/2 tsp baking soda to compensate |
| Unsalted butter | Margarine | Similar fat ratio; Note: Less flavor and may be greasier |
| Heavy cream | Full fat coconut milk | Similar thickness; Note: Adds a slight coconut hint |
Tools You'll Need
You don't need a professional kitchen, but a few specific tools make the Vanilla Velvet Layer Cake much easier to assemble.
- Three 8 inch round cake pans: This is the standard for a 3 layer cake.
- Parchment paper: This is your insurance policy. Don't skip it.
- Electric hand mixer or stand mixer: You need something with some power to whip that buttercream.
- Rubber spatula: For folding and scraping the sides of the bowl.
- Wire cooling racks: To prevent the bottoms from getting soggy.
- Offset spatula: Essential for getting those smooth, professional frosting edges.
How to Bake the Cake
Let's crack on. Follow these steps closely, and pay attention to the sensory cues the smells and textures are your best guides.
- Prep the oven and pans. Preheat your oven to 350°F (175°C). Grease your three pans with butter, then line the bottoms with parchment paper circles. Note: This prevents the cake from sticking, even if you greased the sides.
- Mix the dry base. In a large bowl, whisk together the flour, sugar, baking powder, and salt. Make sure there are no large clumps of sugar.
- The butter sand phase. Add the softened butter to the dry mix. Use your mixer on low speed. Mix for about 2-3 minutes until the mixture looks like coarse sand. Note: This is the "reverse creaming" part that creates the velvet texture.
- Add the liquids. Slowly pour in the eggs one at a time, followed by the milk and vanilla. Mix on medium low. Stop the moment you see no more dry flour streaks. The batter should be smooth and thick, not runny.Note: Over mixing here will make the cake tough.
- Divide the batter. Pour the batter evenly between the three pans. Use a spatula to smooth the tops.
- Bake the layers. Bake for 28-32 minutes. Look for the edges to slightly pull away from the sides and the center to spring back when lightly touched. It should smell like warm sugar and vanilla.
- Cooling process. Let the cakes sit in the pans for 10 minutes. This lets the structure set. Then, carefully flip them onto wire racks to cool completely.
- Whip the butter. In a clean bowl, beat the softened frosting butter for 3 minutes. It should look pale and fluffy, almost white.
- Finish the frosting. Gradually add powdered sugar, cream, vanilla, and salt. Whip on high for another 2 minutes. The frosting should be cloud like and hold a stiff peak.
- Assemble the layers. Place the first layer on a plate. Spread a generous layer of frosting. Repeat for the second and third layers.
- The final seal. Apply a 'crumb coat' (a very thin layer of frosting all over the cake). Chill in the fridge for 30 minutes. Once set, apply the final smooth layer of buttercream.
Fixing Common Cake Problems
Even the best of us have a cake collapse now and then. Usually, it comes down to one of three things: temperature, timing, or technique.
Troubleshooting Common Issues
| Issue | Solution |
|---|---|
| Why Your Cake Sinks in the Middle | This usually happens if the oven door is opened too early or if there's too much baking powder. When the cool air hits the rising batter, the structure collapses before it's set. |
| Why Your Batter Looks Curdled | If you use cold eggs or cold milk, the butter will seize up, creating little clumps of fat. This ruins the emulsion. |
| Why the Cake feels Dry | Over baking is the most common culprit. Even two extra minutes can dry out a velvet crumb. Start checking at 28 minutes. |
Common Mistakes Checklist
- ✓ Did you use room temperature eggs? (Cold eggs = curdled batter)
- ✓ Did you stop mixing at the first sign of smoothness? (Over mixing = tough cake)
- ✓ Did you use parchment paper? (No paper = stuck cake)
- ✓ Did you chill the crumb coat? (No chill = crumbs in your final frosting)
- ✓ Did you weigh your flour? (Too much flour = dry, heavy cake)
Fun Flavor Variations
While the classic vanilla is a winner, you can easily pivot this recipe for different vibes. If you're in the mood for something more colorful, you might want to try a red velvet cake which uses similar layering principles but adds that distinct cocoa and acid punch.
Adding a Zesty Twist If you want a fresher feel, add the zest of two lemons to the sugar before adding the butter. Swap the vanilla in the frosting for lemon extract. This transforms the cake into a bright, summery treat that's less heavy.
Creating a Marble Effect Divide your finished batter into two bowls. Stir 3 tablespoons of cocoa powder and a splash of extra milk into one bowl. Drop alternating spoonfuls of vanilla and chocolate batter into the pans and swirl them with a knife.
This gives you a gorgeous striped look when you slice it.
Greek Yogurt Swap For a slightly tangier, more moist crumb, replace half of the whole milk with full fat Greek yogurt. This adds a bit of acidity that reacts with the baking powder for a slightly higher rise and a more complex flavor profile.
Scaling the Recipe
Sometimes you need a tiny cake for two, and other times you're feeding the whole neighborhood. Adjusting a Vanilla Velvet Layer Cake requires a few tweaks to the timing and temperature.
Scaling Down (½ Batch) If you're using 6 inch pans, halve all ingredients. For the eggs, beat one egg in a small bowl and use half of it by weight. Reduce the baking time by about 20%, but still rely on the "spring back" test for doneness.
Scaling Up (2x Batch) When doubling the recipe, don't double the salt or baking powder fully use about 1.5x the original amount to avoid a metallic taste or an over inflated cake. Bake the layers in batches if your oven is small; overcrowding the oven blocks airflow and leads to uneven baking.
Baking Larger Pans If you move from 8 inch to 10 inch pans, lower the oven temperature by 25°F (about 10°C) and extend the baking time. This ensures the center cooks through before the edges burn.
| Scale | Pan Size | Temp Adjustment | Time Adjustment |
|---|---|---|---|
| Half (½) | 6 inch | No change | -20% time |
| Double (2x) | 8 inch | -25°F (if oven full) | +5-10 mins |
| Large | 10 inch | -25°F | +10-15 mins |
Storage and Freshness Tips
A cake this moist stays fresh longer than a standard sponge, but you still have to be smart about how you keep it.
Fridge and Freezer Because of the high butter content in the frosting, this cake is best stored in the fridge in an airtight container. It will stay fresh for up to 5 days. For the freezer, wrap the unfrosted layers in plastic wrap and foil. They'll last for 3 months.
Thaw them in the fridge overnight before frosting.
The Secret to Reheating Never microwave a frosted cake. If you've stored your slice in the fridge, let it sit at room temperature for 30-60 minutes before eating. This allows the butter in the sponge and the frosting to soften, bringing back that velvety mouthfeel.
Zero Waste Cake Tips If you level your cakes by slicing off the domed tops, don't throw those scraps away! Crumble them up, mix with a bit of frosting, and roll them into cake pops. Alternatively, layer the scraps in a glass with fresh berries and whipped cream for a quick "cake trifle" dessert.
How to Serve and Pair
Presentation is everything with a Vanilla Velvet Layer Cake. Since the flavor is clean and creamy, you want pairings that provide a bit of contrast.
Plating for Impact Slice the cake with a hot knife (dip it in boiling water and wipe it dry between every single cut). This gives you those clean, professional looking slices. Serve each piece with a few fresh raspberries or a sprig of mint to add a pop of color against the white frosting.
Perfect Drink Pairings A rich cake needs a beverage that cuts through the fat. A glass of cold milk is the classic choice, but for something more grown up, try a raspberry iced tea. The tartness of the berries and the tannins in the tea balance the sweetness of the buttercream perfectly.
The Final Touch If you're serving this for a party, avoid putting the cake on the table too early. Keep it chilled until 30 minutes before serving. This ensures the layers stay stable and the frosting doesn't start to weep in a warm room.
Trust me on this the "room temp" window is the sweet spot for both texture and taste.
Recipe FAQs
How to make the perfect vanilla cake?
Preheat oven to 350°F and use room temperature ingredients. If you enjoyed mastering the texture here, the same principles apply to our simple velvet sponge.
How to make vanilla cakes taste better?
Use pure vanilla extract in both the batter and frosting. Whip the butter for the frosting for a full 3 minutes to ensure it is pale and fluffy.
Why did my cake sink in the middle?
Opening the oven door too early causes the structure to collapse. Cold air hitting the rising batter prevents it from setting properly before the bake is complete.
Is it true that using cold milk and eggs won't affect the batter?
No, this is a common misconception. Cold liquids cause the softened butter to seize, resulting in a curdled emulsion and a ruined crumb.
How to store the cake for maximum freshness?
Keep it in an airtight container in the fridge. The high butter content in the frosting preserves the cake's moisture for up to 5 days.
Why is my cake dry?
Overbaking is the most likely cause. Start checking for doneness at 28 minutes to prevent the velvet crumb from drying out.
Can I freeze the cake layers?
Yes, wrap unfrosted layers in plastic wrap and foil. They will stay fresh for 3 months; just thaw them in the fridge overnight before frosting.
Vanilla Velvet Layer Cake

