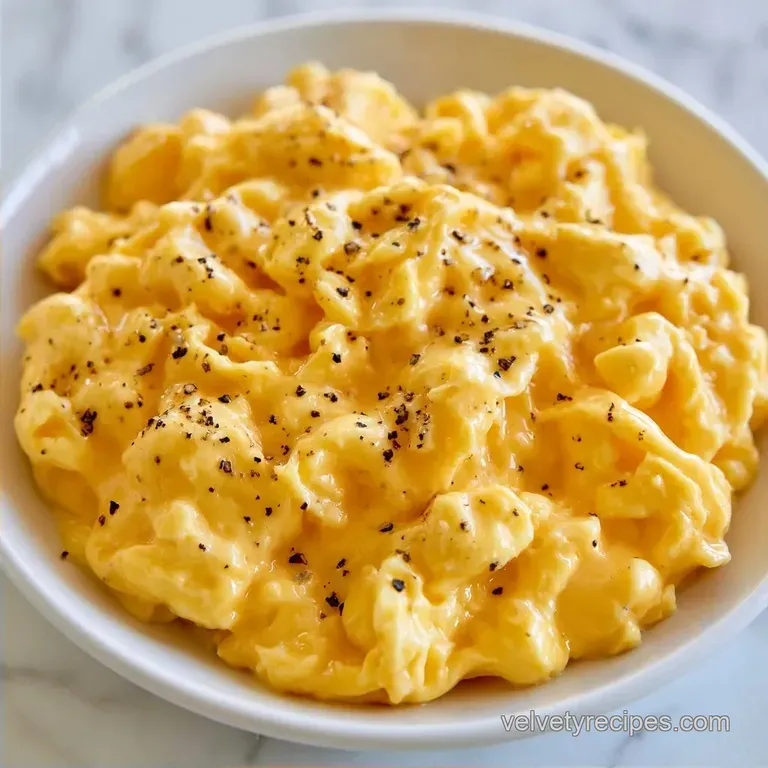
Creamy Velvet Breakfast Eggs in 6 Minutes
- Time: 3 min active + 3 min cooking
- Flavor/Texture Hook: Rich, buttery, and smooth curds
- Perfect for: Slow mornings or a fancy brunch at home
Ever bitten into scrambled eggs that felt like a wet sponge? It's a common disaster. Usually, it happens because the pan is too hot, which tightens the proteins too quickly and squeezes out all the moisture. You end up with rubbery chunks and a puddle of watery liquid on your plate.
I spent way too long thinking that "high and fast" was the only way to get breakfast on the table. But once I slowed down, everything changed. The result is a texture that feels like a cloud.
These Creamy Velvet Breakfast Eggs aren't about fancy equipment. It's just about patience and a silicone spatula. You'll get a rich, soft curd that actually tastes like a restaurant meal without the twenty dollar price tag.
Creamy Velvet Breakfast Eggs Texture Tips
The goal here is to prevent the egg proteins from bonding too tightly. When eggs hit a screaming hot pan, they seize up. By keeping the temperature low, the curds stay small and tender.
- Low Heat
- Keeping the flame low prevents the eggs from overcooking instantly.
- Constant Motion
- Stirring breaks up the curds so they don't form thick, tough sheets.
- Carryover Cooking
- Removing the pan while the eggs look wet ensures they don't dry out on the plate.
| Method | Time | Texture | Best For |
|---|---|---|---|
| Diner Style | 2 mins | Firm/Rubbery | Quick takeout |
| French Style | 3 mins | Soft/Glossy | Slow brunch |
According to Serious Eats, controlling the temperature is the only way to prevent the eggs from "weeping" or releasing water.
What Each Ingredient Does
| Ingredient | What It Does | Best Swap |
|---|---|---|
| Large Eggs | Provides the structure and base | Pasteurized liquid eggs |
| Unsalted Butter | Adds richness and prevents sticking | Ghee or coconut oil |
| Heavy Cream | Keeps the curds tender and smooth | Whole milk or Greek yogurt |
Gathering Your Essentials
Get your ingredients ready before you turn on the stove. These cook fast, so you don't want to be hunting for the salt while your butter is burning.
- 4 large (200g) eggs Why this? Standard size for consistent cooking times
- 2 tbsp (28g) unsalted butter Why this? Gives that classic home cooked flavor
- 1 tbsp (15ml) heavy cream Why this? Prevents the eggs from drying out
- 1/4 tsp (1.5g) fine sea salt Why this? Dissolves quickly for even seasoning
- 1/8 tsp (0.5g) freshly cracked black pepper Why this? Adds a sharp, fresh bite
| Original Ingredient | Substitute | Why It Works |
|---|---|---|
| Heavy Cream (1 tbsp) | Whole Milk (1 tbsp) | Similar liquid base. Note: Result is slightly less rich |
| Butter (2 tbsp) | Olive Oil (2 tbsp) | High smoke point. Note: Lacks the buttery depth |
Basic Equipment Needed
You don't need a professional kitchen for this. A simple non stick skillet is the most important tool. If you use stainless steel, the eggs will likely stick and tear, which ruins that smooth look.
A silicone spatula is also a must. Metal tools can scratch your pan, and wooden spoons don't always scrape the edges well enough. You want something flexible that can move the eggs in a continuous flow.
The Cooking Process

Phase 1: The Aeration
Crack the eggs into a mixing bowl. Add the salt, pepper, and heavy cream. Whisk vigorously for about 60 seconds until the yolks and whites are completely combined and no streaks remain.
Phase 2: The over Low heat Dance
Place a non stick skillet over low to medium low heat and add the butter. Once the butter foams but before it browns, pour in the egg mixture.
Phase 3: The Perfect Pull
Using a silicone spatula, constantly stir the eggs in a circular or figure eight motion to form small, soft curds slowly. Continue stirring for 2-3 minutes. Remove the pan from the heat while the eggs still look slightly underdone or wet. Let the residual heat finish the cooking for 30 seconds.
Chef: If you want a more intense flavor, try adding a tiny pinch of smoked paprika or a drop of truffle oil right at the end.
Tips and Pitfalls
I once tried to rush this by turning the heat up to medium. Within seconds, the eggs went from "liquid" to "overcooked" with no middle ground. Trust the low heat. It takes a few extra minutes, but the texture is worth it.
For that silk like shine, make sure your butter is fully melted and foaming before the eggs go in. This creates a fat barrier that keeps the eggs from sticking and adds a glossy finish.
Why Your Eggs Are Rubbery
This usually happens because the heat was too high or you stopped stirring too early. The proteins bond too tightly and squeeze out the moisture.
Why Your Eggs Are Too Liquid
You likely took the pan off the heat too soon or didn't let the carryover cooking happen. Just put them back on the low heat for 30 seconds.
| Problem | Root Cause | Solution |
|---|---|---|
| Brown spots | Heat too high | Lower the flame immediately |
| Watery eggs | Overcooked | Remove from heat while wet |
| Clumpy curds | Not enough stirring | Use a figure eight motion |
Easy Dietary Adaptations
If you're avoiding dairy, you can use a vegan butter substitute and almond milk. The texture remains pretty similar, though you lose a bit of that heavy richness.
For a healthy creamy breakfast eggs option, swap the heavy cream for a tablespoon of blended cottage cheese. This adds a nice protein boost without adding too many calories. If you enjoy other egg styles, you might like these easy peel eggs for your meal prep.
Storage and Waste
These are best eaten immediately. However, if you have leftovers, put them in an airtight container in the fridge for up to 2 days.
The reheating secret is to use a microwave on 50% power in 20 second bursts. If you blast them on high, they'll turn into rubbery nuggets.
To avoid waste, save your eggshells. You can crush them up and add them to your garden soil for a calcium boost.
Great Side Dishes
I love serving these with a slice of thick, toasted sourdough rubbed with a raw garlic clove. The crunch of the toast balances the soft nature of the Creamy Velvet Breakfast Eggs perfectly.
For a more filling meal, add some sautéed spinach or roasted cherry tomatoes on the side. If you're in the mood for something even richer, check out my velvet scrambled eggs for another take on this style.
Recipe FAQs
How to get velvety scrambled eggs?
Whisk eggs, heavy cream, salt, and pepper vigorously for 60 seconds. Use low to medium low heat and stir constantly with a silicone spatula to form small, soft curds.
What is the secret to the creamy texture?
Low heat and residual cooking. Remove the pan from the heat while the eggs still look slightly wet, allowing the residual heat to finish the cooking process for 30 seconds.
Is it true that medium heat is better for a faster cook?
No, this is a common misconception. Using medium heat causes eggs to go from liquid to overcooked almost instantly, ruining the velvet consistency.
What cream is used to make these eggs silky?
Heavy cream. This adds the necessary fat to ensure a rich, smooth mouthfeel.
How to reheat leftover eggs without them becoming rubbery?
Microwave on 50% power in 20-second bursts. Blasting them on high heat will turn the eggs into rubbery nuggets.
What side dish pairs best with these eggs?
Toasted homemade muffins. If you enjoyed mastering the temperature control here, see how that same precision works in our English muffin recipe.
Why must the butter be foaming before adding the eggs?
To create a protective fat barrier. This prevents the eggs from sticking to the skillet and provides a professional, glossy finish.
Creamy Velvet Breakfast Eggs

